The Art Of Balancing Artificial Light With Natural Light | Raleigh North Carolina Photographer
One of the biggest questions I always get on my workshops is how to balance artificial light with natural light. The reason this question always comes up is because when photographers first start using artificial light, they don't get a great balance of natural and artificial light. The biggest mistakes I see is they tend to kill all the natural light, which tend to give the image that "flash" look. So how do you avoid your image from getting that "flash" look and having it nicely balanced with the ambient/natural light?
So the key to getting a properly exposed image is first getting the ambient light under control. The reason you want to start with the ambient and not your flash is because you cannot control the ambient light, so it's better to quickly get that under control with your camera settings. Here are my 3 steps to getting a properly exposed image using flash.
- First thing I do is choose my ISO. Now keep in mind if you increase your ISO it will also increase the amount of ambient light as well as the amount of artificial light hitting your camera sensor. The more you decrease the ISO the less ambient light will hit your camera sensor and the harder your flash would have to work. When working indoors your ISO can be anywhere in the neighborhood of 800 or more, which means your artificial light may require less power. So for example, if you are outside and you are shooting at ISO 100 your flash power may need to be at full power because more power is required from the flash to help fill in the shadows on your subject.
- Next, I decide on what aperture I would like to use. Generally, I like to select a wide aperture such as 2.8. The wider the aperture the more ambient light you would get on your camera sensor which means your flash would not have to work as hard. The aperture also controls the power levels on your flash.
- Lastly, I then focus on the shutter. This setting controls only the ambient light hitting your sensor, it has very little impact on the artificial light. Once I lock in my ISO and Aperture, I use my shutter to help dial in my proper exposure. If I am outside and I choose an ISO of 100 and an aperture of 2.8 that means there's a lot of ambient light hitting the sensor. The shutter would then help to reduce the amount of ambient light hitting the sensor, which means my shutter could land anywhere in the neighborhood of 1/1600 or more. That said, another issue when working with flash and the shutter is something known as the camera sync speed, which is a limitation all cameras have. The camera I use is the Canon 5D Mark III and the shutter sync speed on that camera is 1/200. If I am using a flash and I am shooting at 1/1600 and my flash doesn't have HSS (High Speed Sync) enabled then my image would get a black bar either on the lower or upper portion of the image. If your flash does have HSS enabled then you can shoot beyond your camera sync speed. If your flash doesn't have HSS then you would have to lock in your shutter at your camera sync speed, which in my case is 1/200 and then I would have to use my aperture to decrease the amount of ambient light hitting my sensor, so that means instead of shooting at an aperture of 2.8, I may end up shooting at aperture f10 or more. If that happens that means I would need more power from the flash.
So how do you bring all this together? Well, it's very simple. The first thing you want to do when you arrive at your scene is to get your ambient light under control using ISO, Aperture, and Shutter. Next, you introduce your flash, the only thing that you would be manually changing on the flash is the power output. What I like to do, given that I shoot on manual, is put my flash on 1/2 power and take a test image to determine if the power output my flash is too powerful or if more power is required, but I am not changing the settings on my camera. The only time I would change my settings on my camera is if I need more power from the flash. If my flash is at full power I would change either my ISO or Aperture just to give the light a little more power. However, by changing the ISO or Aperture that means the ambient light would be changing as well. As I adjust the flash power, I would take a test shot and look at the image to determine if the flash/artificial is balancing with the ambient. Now, this technique is subjective because every photographer would see something different. Some photographers would want a dramatic image or something a little bit more true to life, meaning less drama aka fewer shadows.
In conclusion, understanding how your ISO, Aperture, and Shutter works with your ambient and flash is very important to balancing your natural/ambient with your artificial light. I hope this was helpful and please check out the video tutorial below for more details, Wayne Wonder the videographer did a fantatic job putting this together.
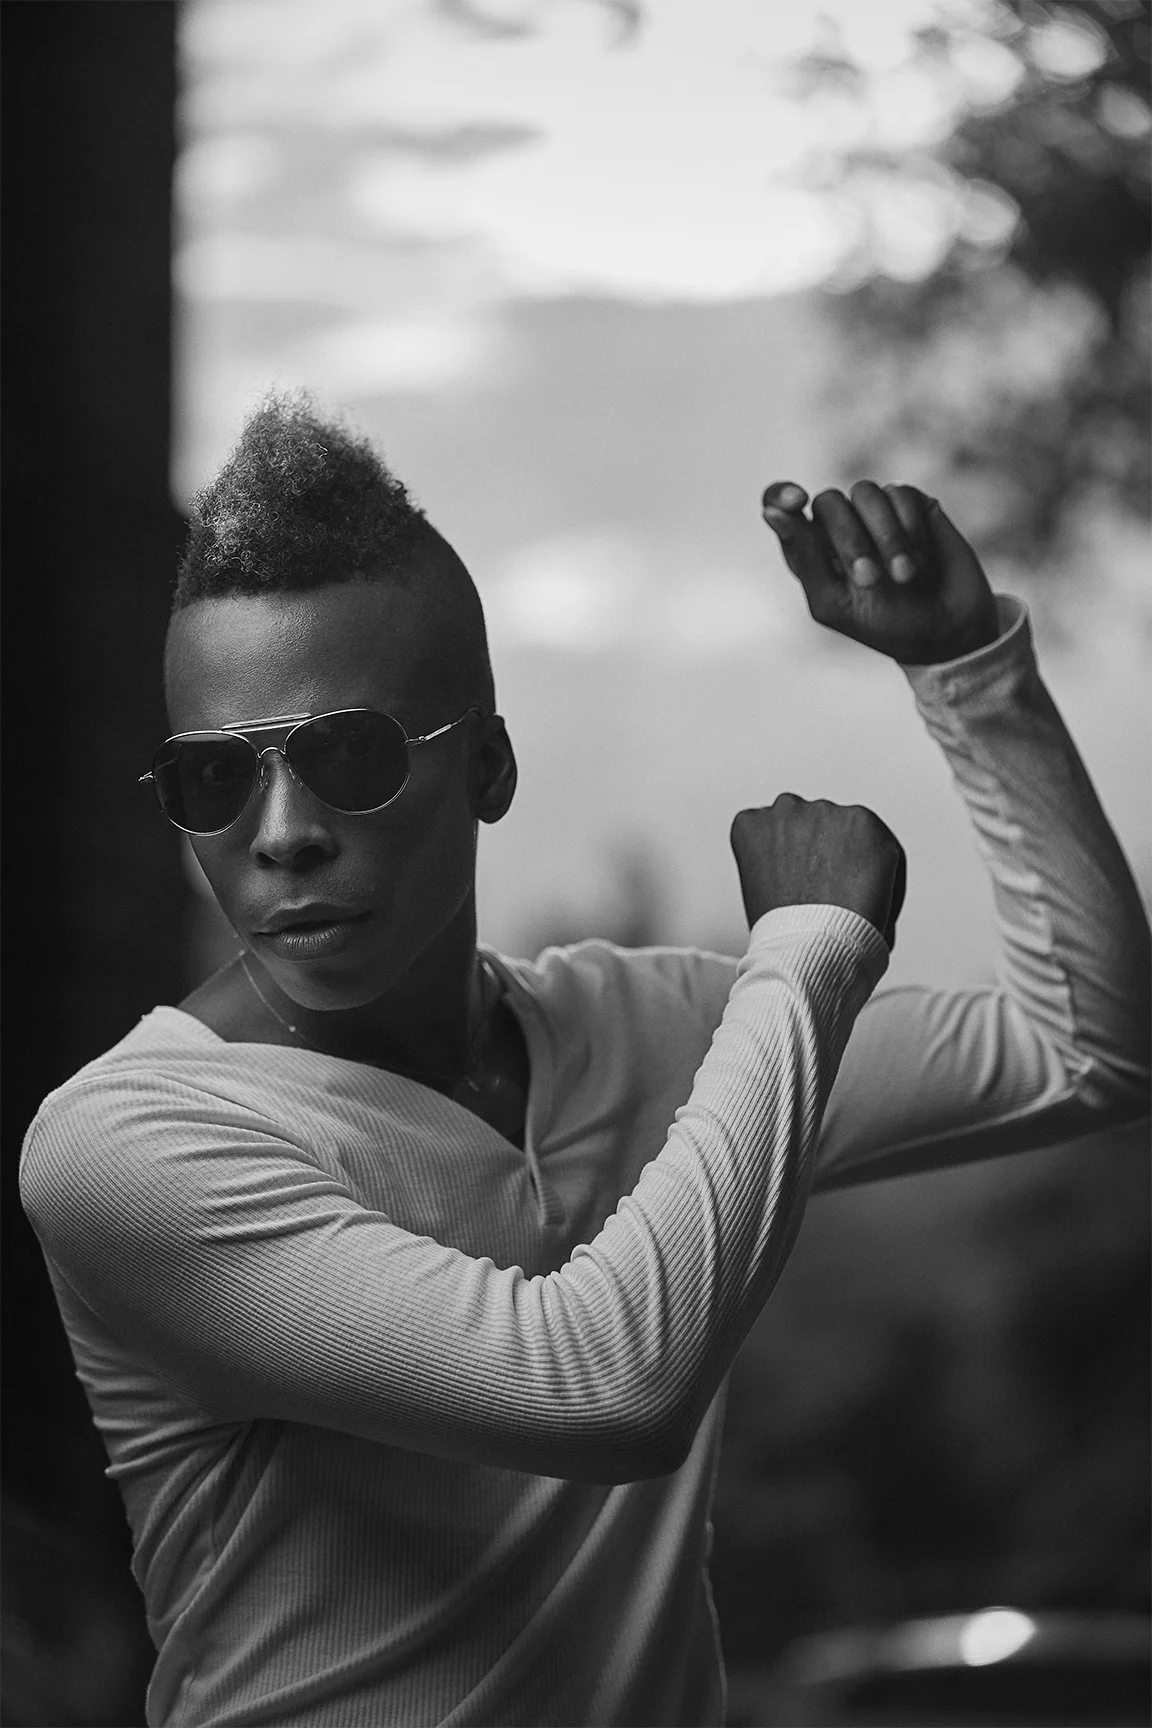
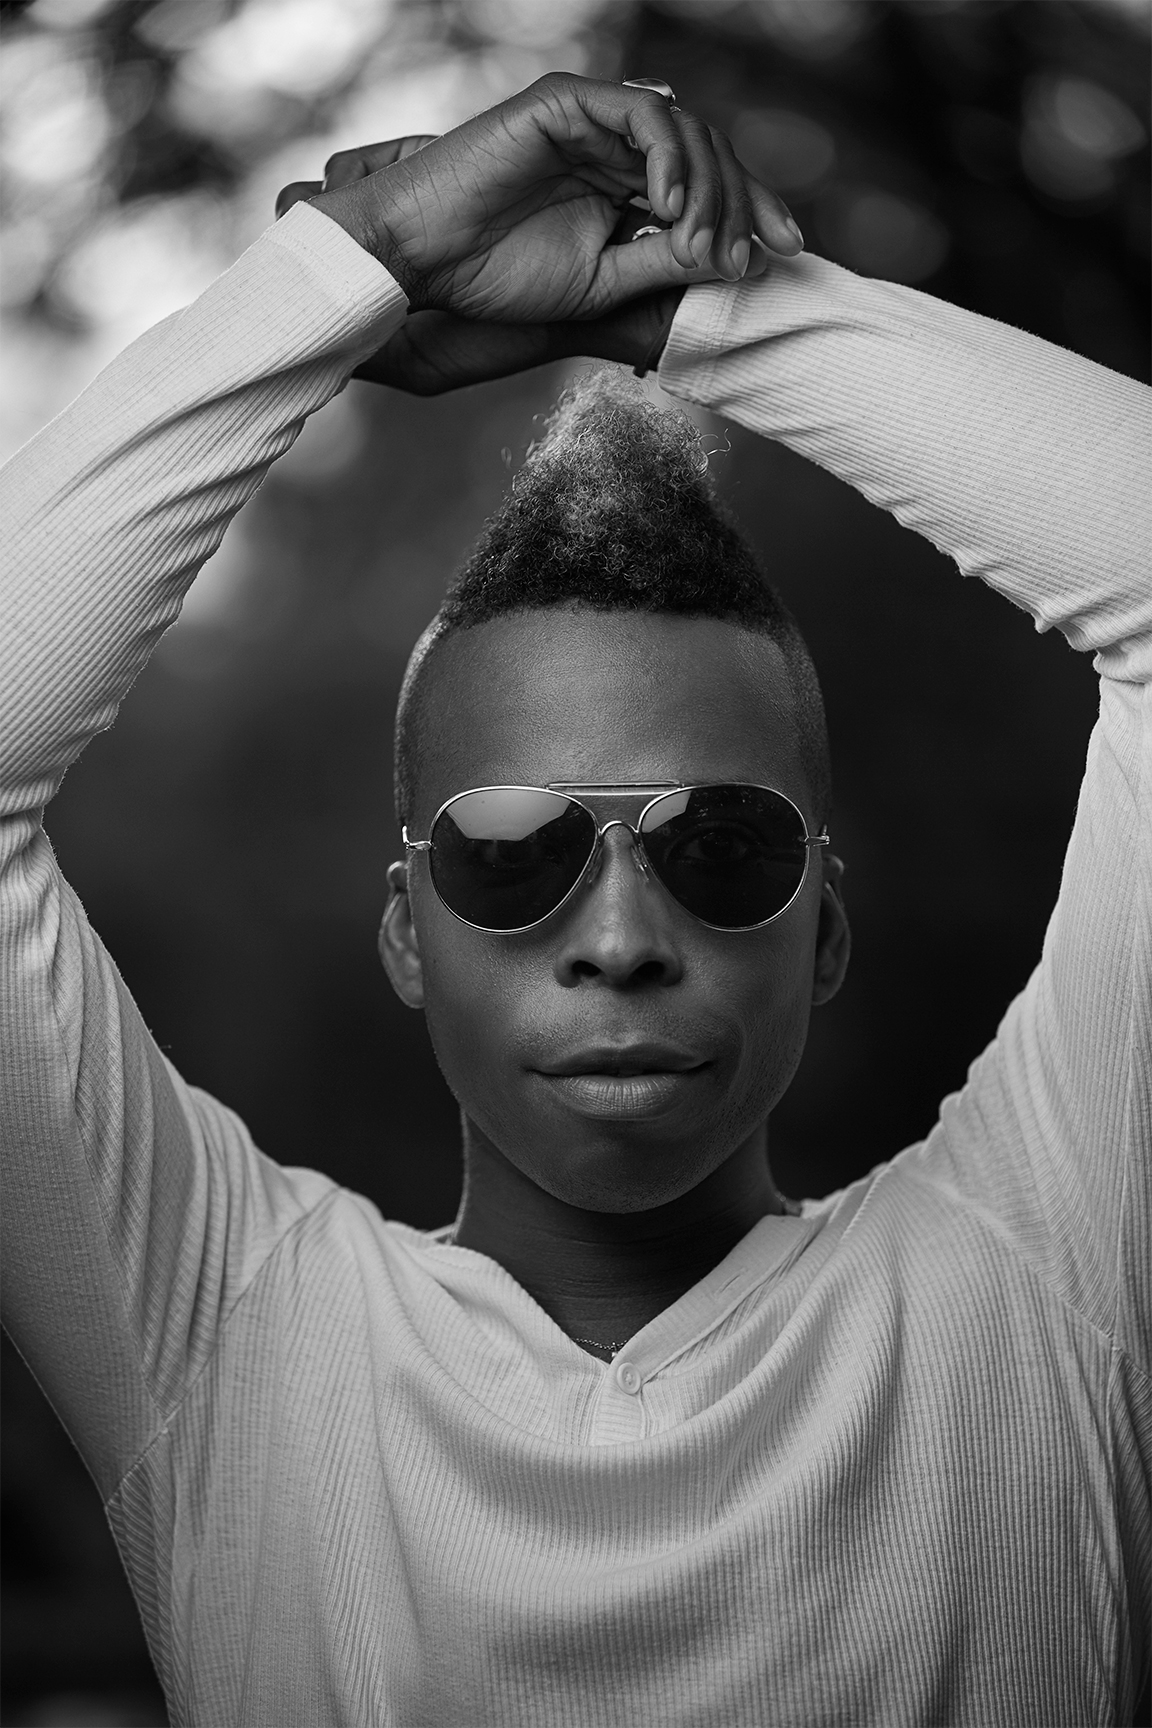
I want to give a big thank you to Orlando Parker for modeling for this tutorial. Orlando is an up and coming music artist, please check out his FB page for all his international adventures.
If you would like to attend one of my workshops, please join our meetup group and check for the next available workshop. If you don't see any upcoming workshops just contact me directly and we can put something on the calendar.
If you like what you see, please share with your friends and family. Also, please click the heart button and/or post some feedback below.
Sign up to our newsletter to get our latest news and promotions.


