Why Lighting Patterns Are Important To Photographers | Raleigh, North Carolina
Today we are going to talk all about why Lighting Styles and Lighting Patterns Are Important To Portrait Photographers.
What Are Lighting Styles?
To begin, we need to identify the 4 type of light sources, which are:
Natural Light
Ambient Light
Continuous Light
Artificial light aka flash
We use these 4 light sources to identify the different lighting patterns and to help us create multiple lighting styles. In this article we are only going to be talking about 4 lighting patterns and 2 lighting styles.
Lighting Patterns:
Split Lighting
Loop Lighting
Rembrandt Lighting
Butterfly Lighting
Lighting Styles:
Broad Lighting
Short Lighting
Each one of these lighting patterns and styles helps to shape your subject's face. Some lighting techniques can flatten a subject's features and others can add depth and dimension.
Lets go over each of the lighting styles:
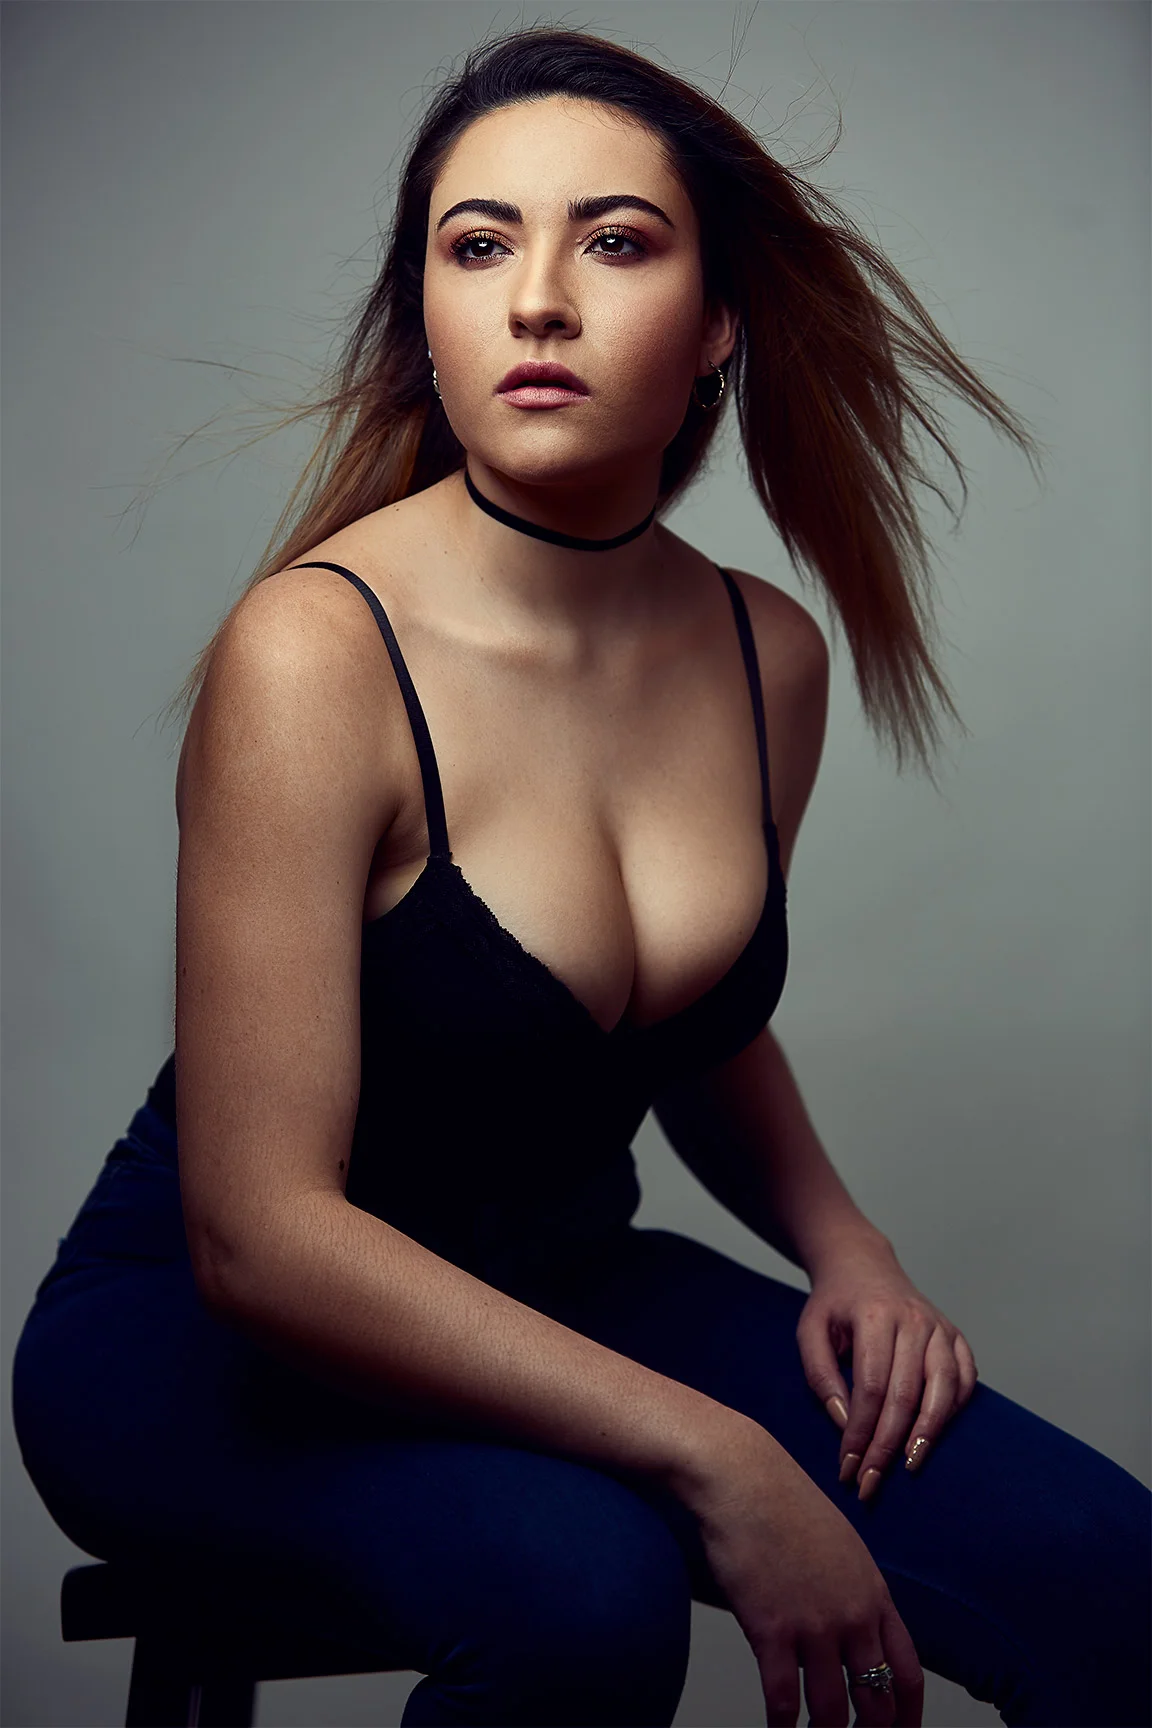
Split Lighting:
This is when the light is only showing on one side of the subject's face and other side is in shadow. In other words, the light is evenly split down the middle of the subject's face. You would typically use this type of lighting style for men and actors to add of bit of drama or mystery. This type of lighting style in a portrait setting is not typically used on women, as it's not very flattering on them. However, if it's your intention to add drama or mystery to your image then it's certainly fine. Split lighting is achieved by positioning the light approximately 90 degrees on the left or right side of the subject until one side of the face is in shadow.

Split Lighting
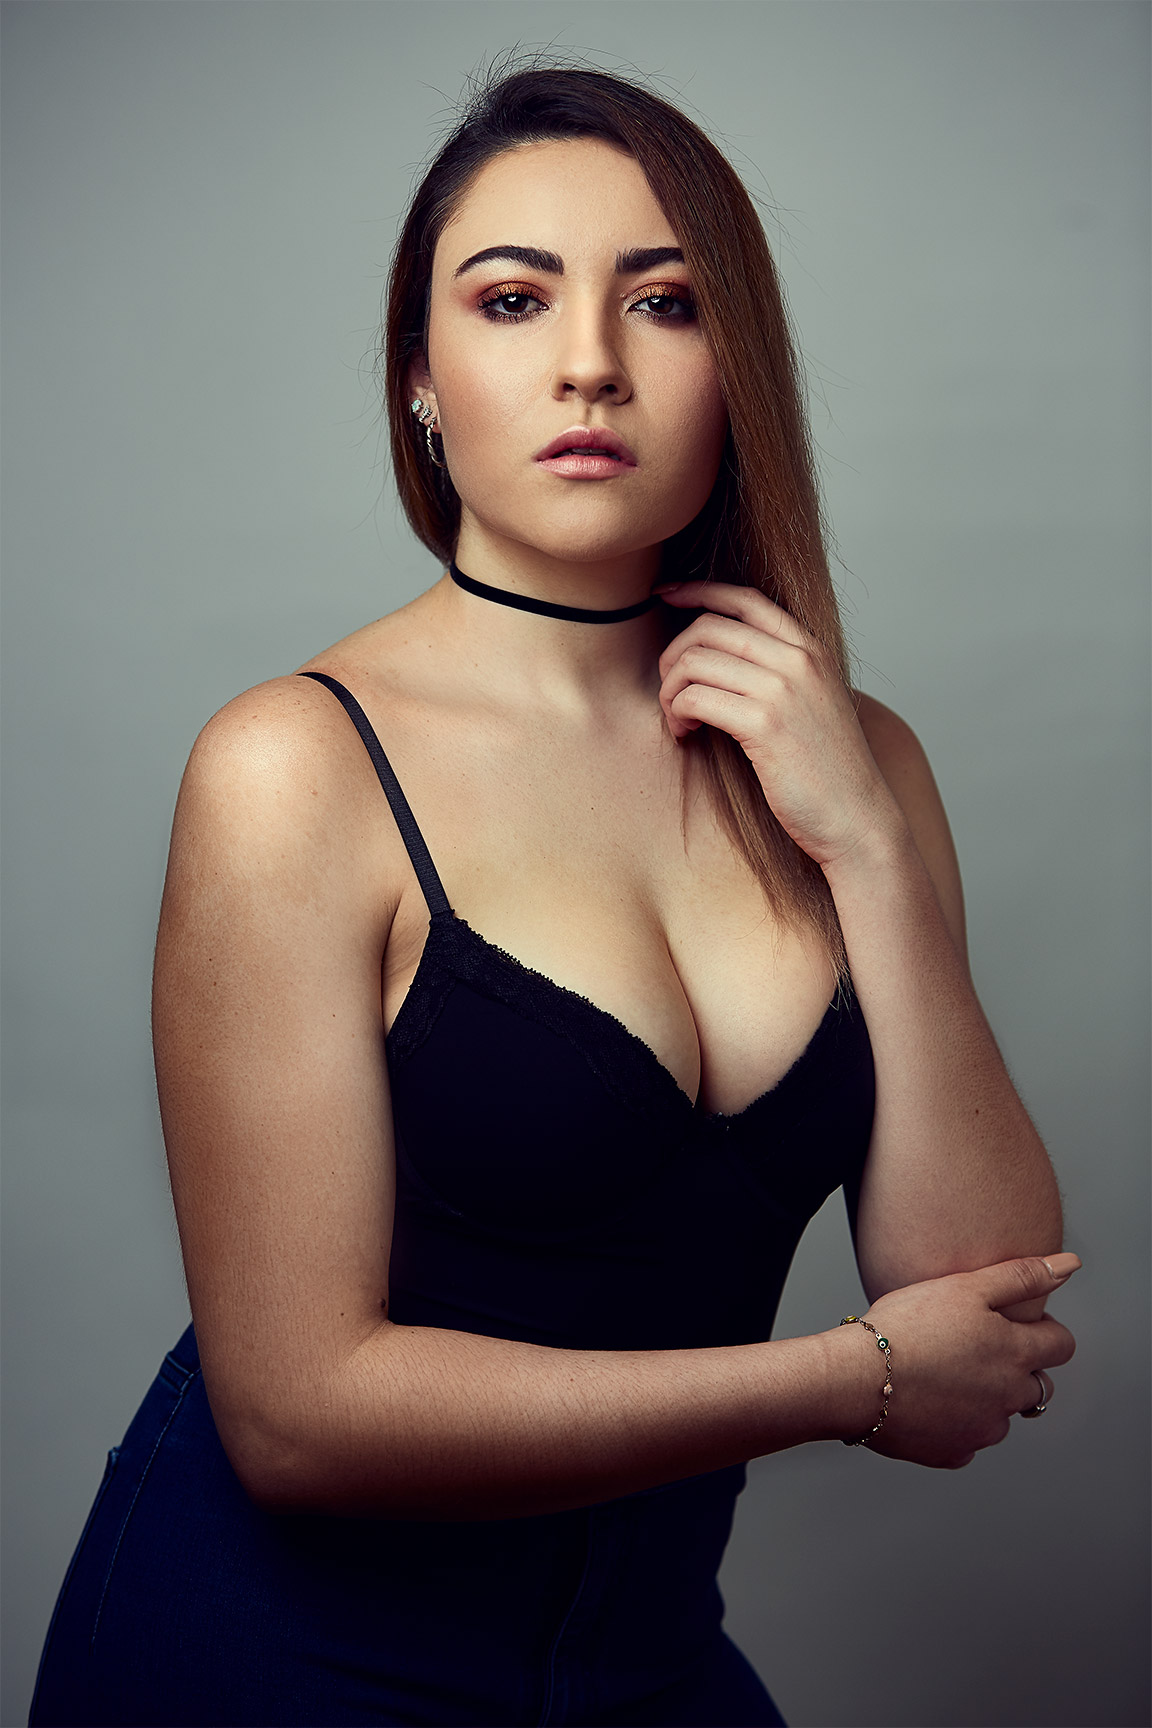
Loop Lighting:
This is probably the most commonly used lighting styles, I know it is for me. This style suits most subjects which is why I love to use it. To create loop lighting, the main light has to be position right or left of the subject and slightly above the subject's eye line. However be careful not to push it too far as you will lose the catch lights in the subject's eyes. Loop lighting is identified and made by creating a small shadow of the subject's nose on their cheek.

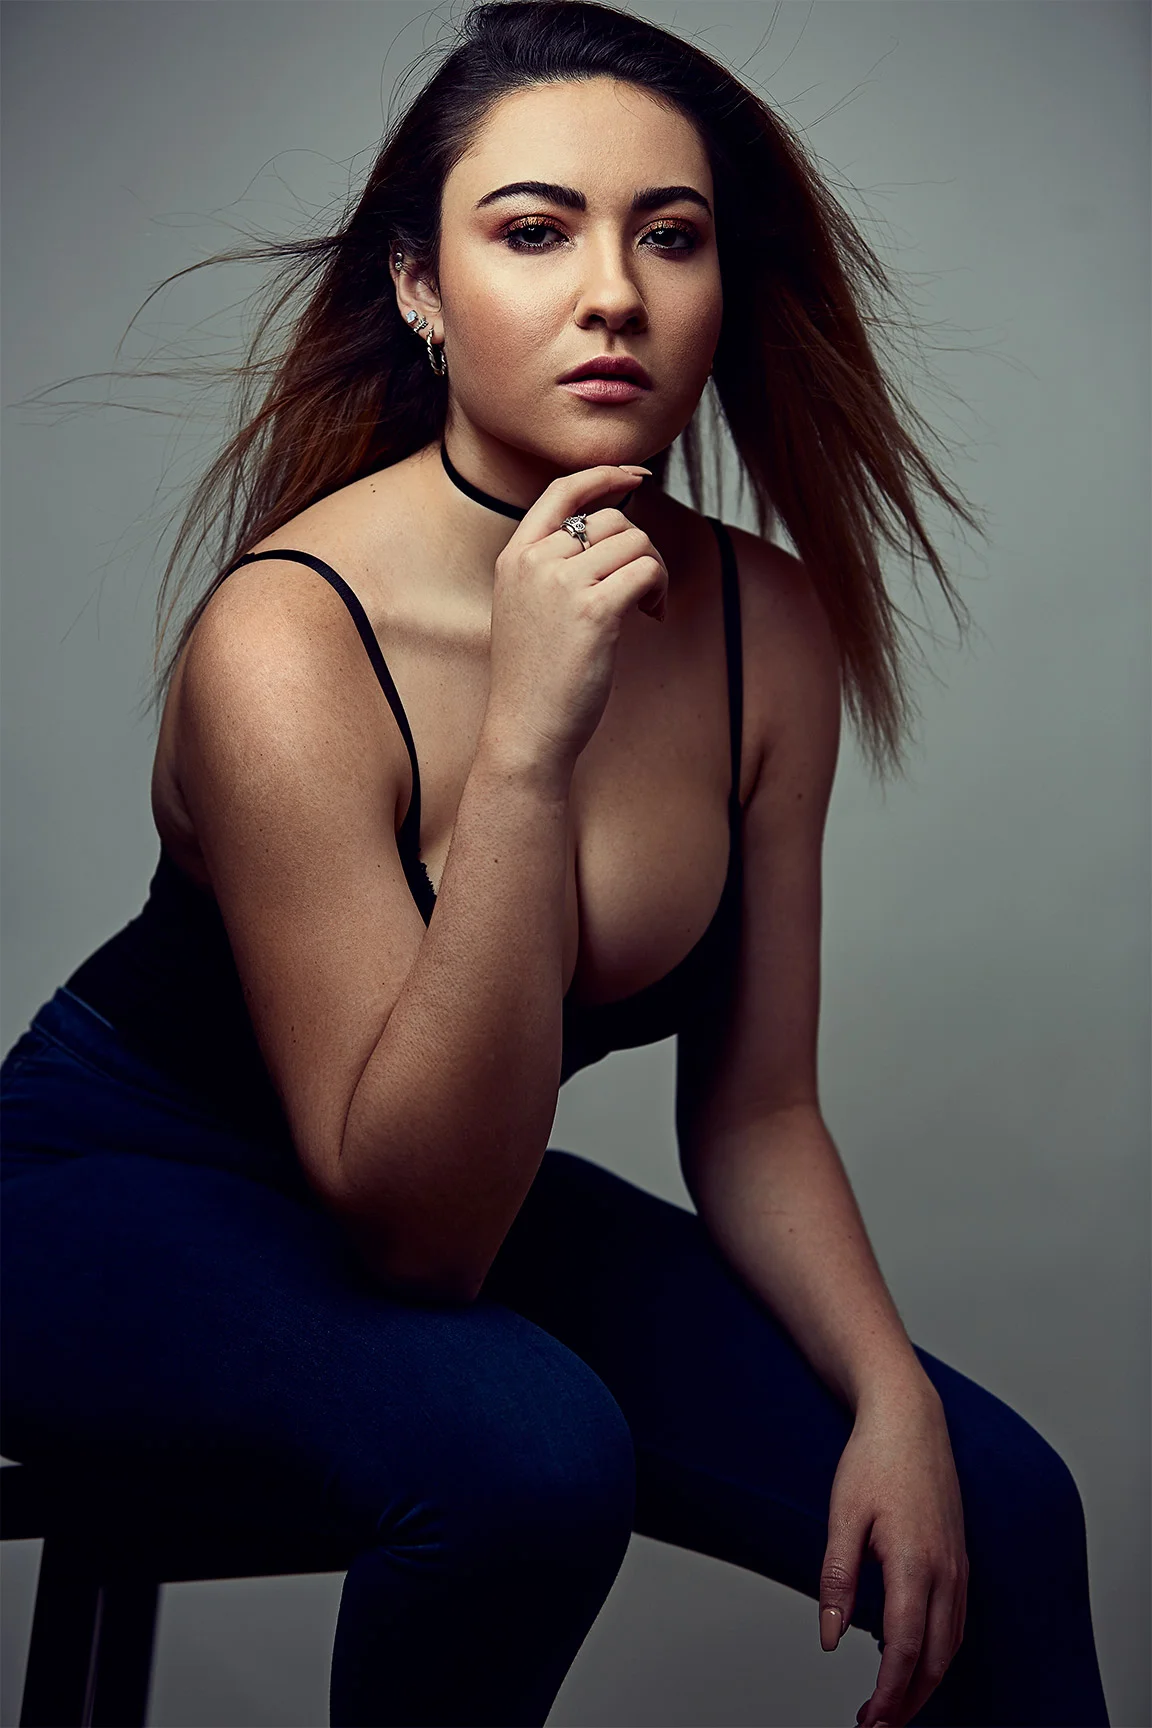
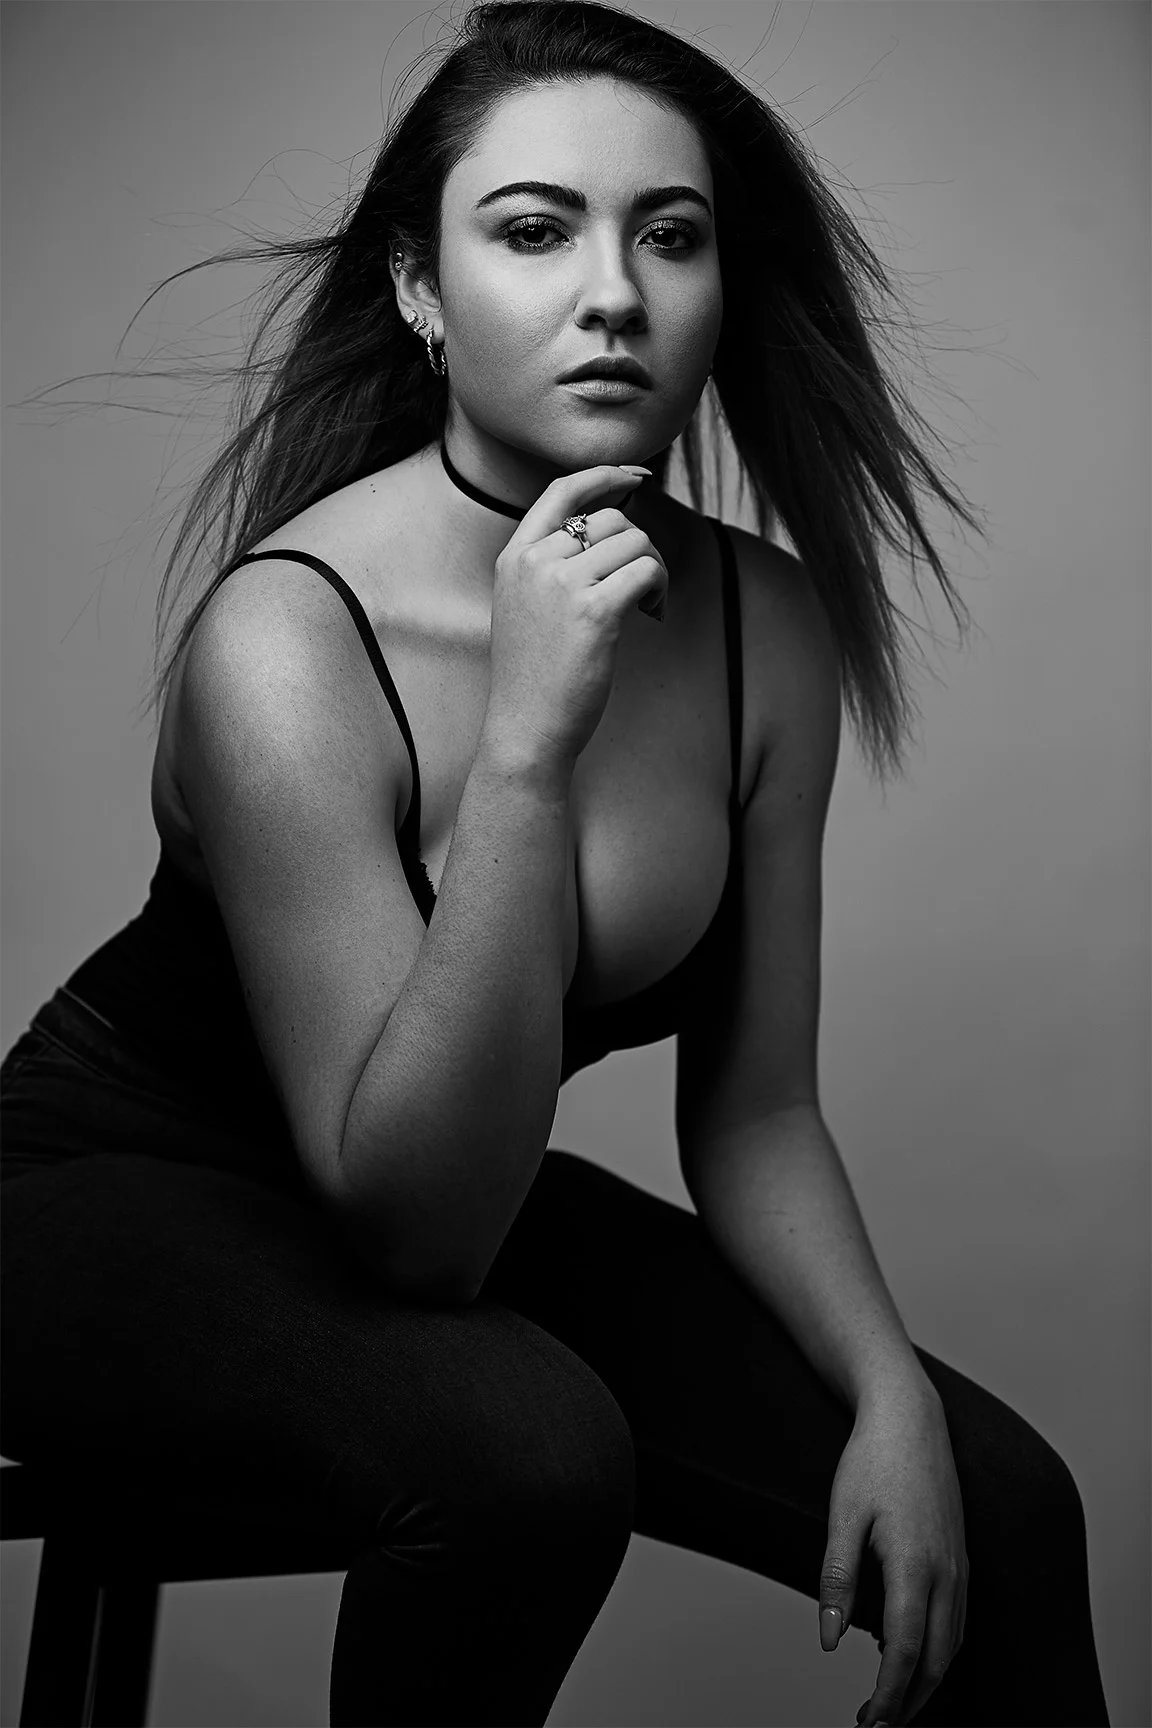
Rembrandt Lighting:
This is yet another famous lighting style that is used by many photographers, including myself. As with loop lighting, this style suits most subjects. To create Rembrandt lighting, the main light has to be position camera left or right 45 degrees above the subject. You position the light until you notice the shadow of the subject's nose connects with the subject's cheeks. This connection forms a triangle which is known as Rembrandt lighting. This lighting style was made famous by Rembrandt the painter who often used this style of lighting in his paintings.

Rembrandt Lighting
Butterfly Lighting:
This lighting style is another common one but is generally created using artificial light and a reflector. With butterfly lighting, it creates a little shadow that appears in a shape of a butterfly under the subject's nose. This lighting style can be flattering to subjects with a slender face or with beautiful cheekbones or even older folks as it hides the wrinkles a little. To create butterfly lighting you have to position the light directly behind the camera and slightly above the subject's eye level or head.
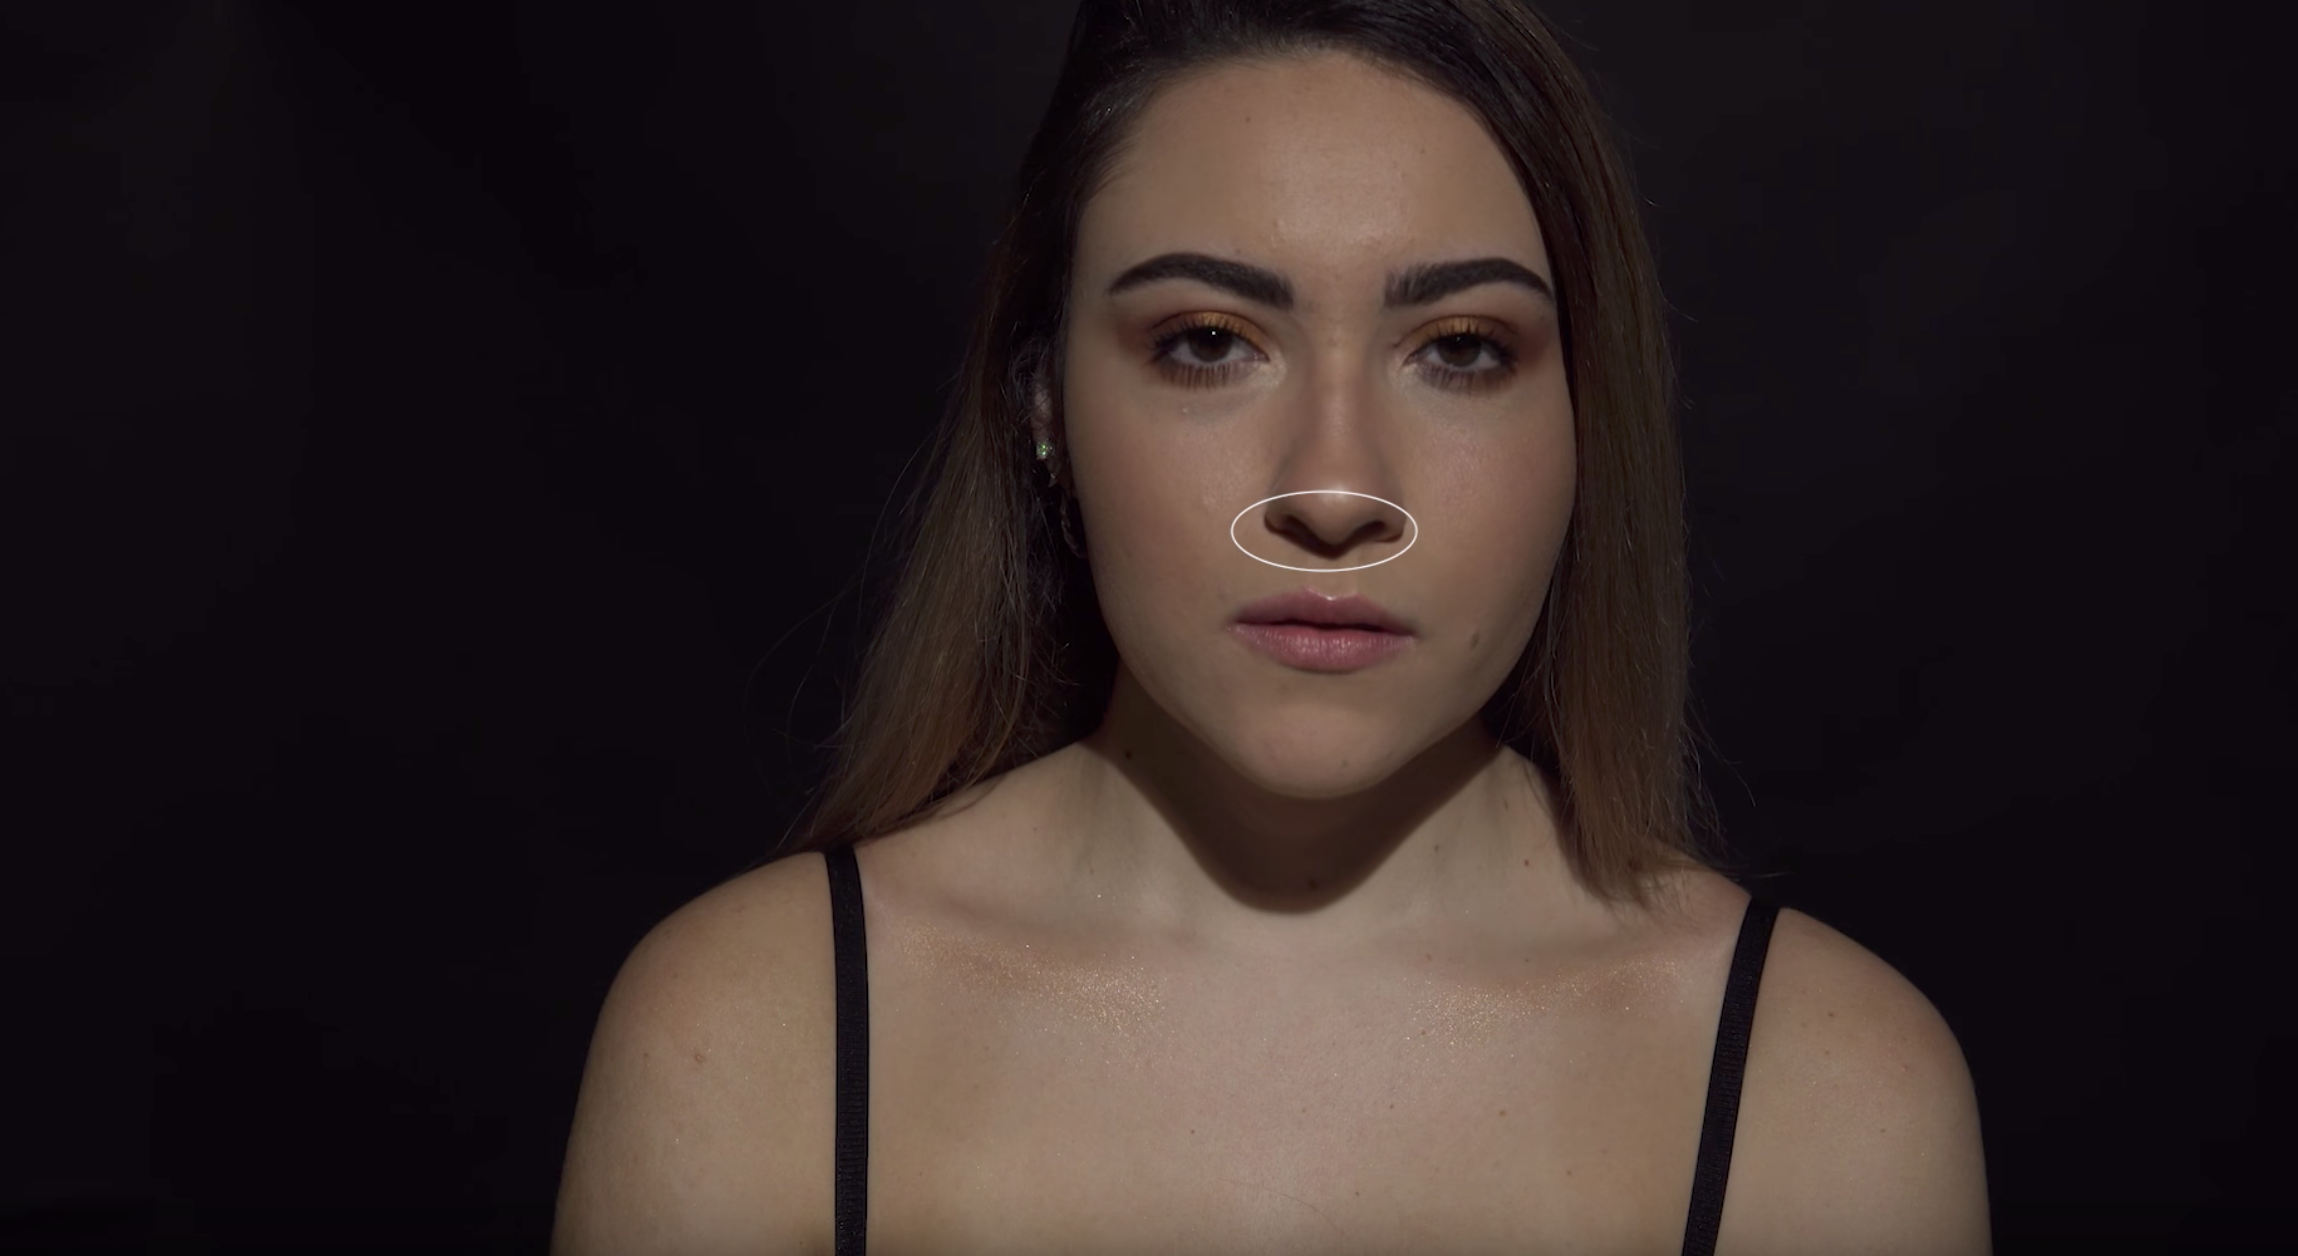
Butterfly Lighting
Broad Lighting:
I am not a big fan of broad lighting, as it tends to make the subject's face appear fuller. That said, if you want to make someone's face appear fuller then this is the lighting style that you need to use. To create broad lighting simply position the subject's face to the camera in the same direction of the main light. So for example if the main light is coming in from camera left then instead of asking the subject to turn their body to camera left, you ask them to turn their body to camera right. In doing so, you will be capturing the image on the broadside of the subject's face as that's where the light and the camera is position.
Broad Lighting
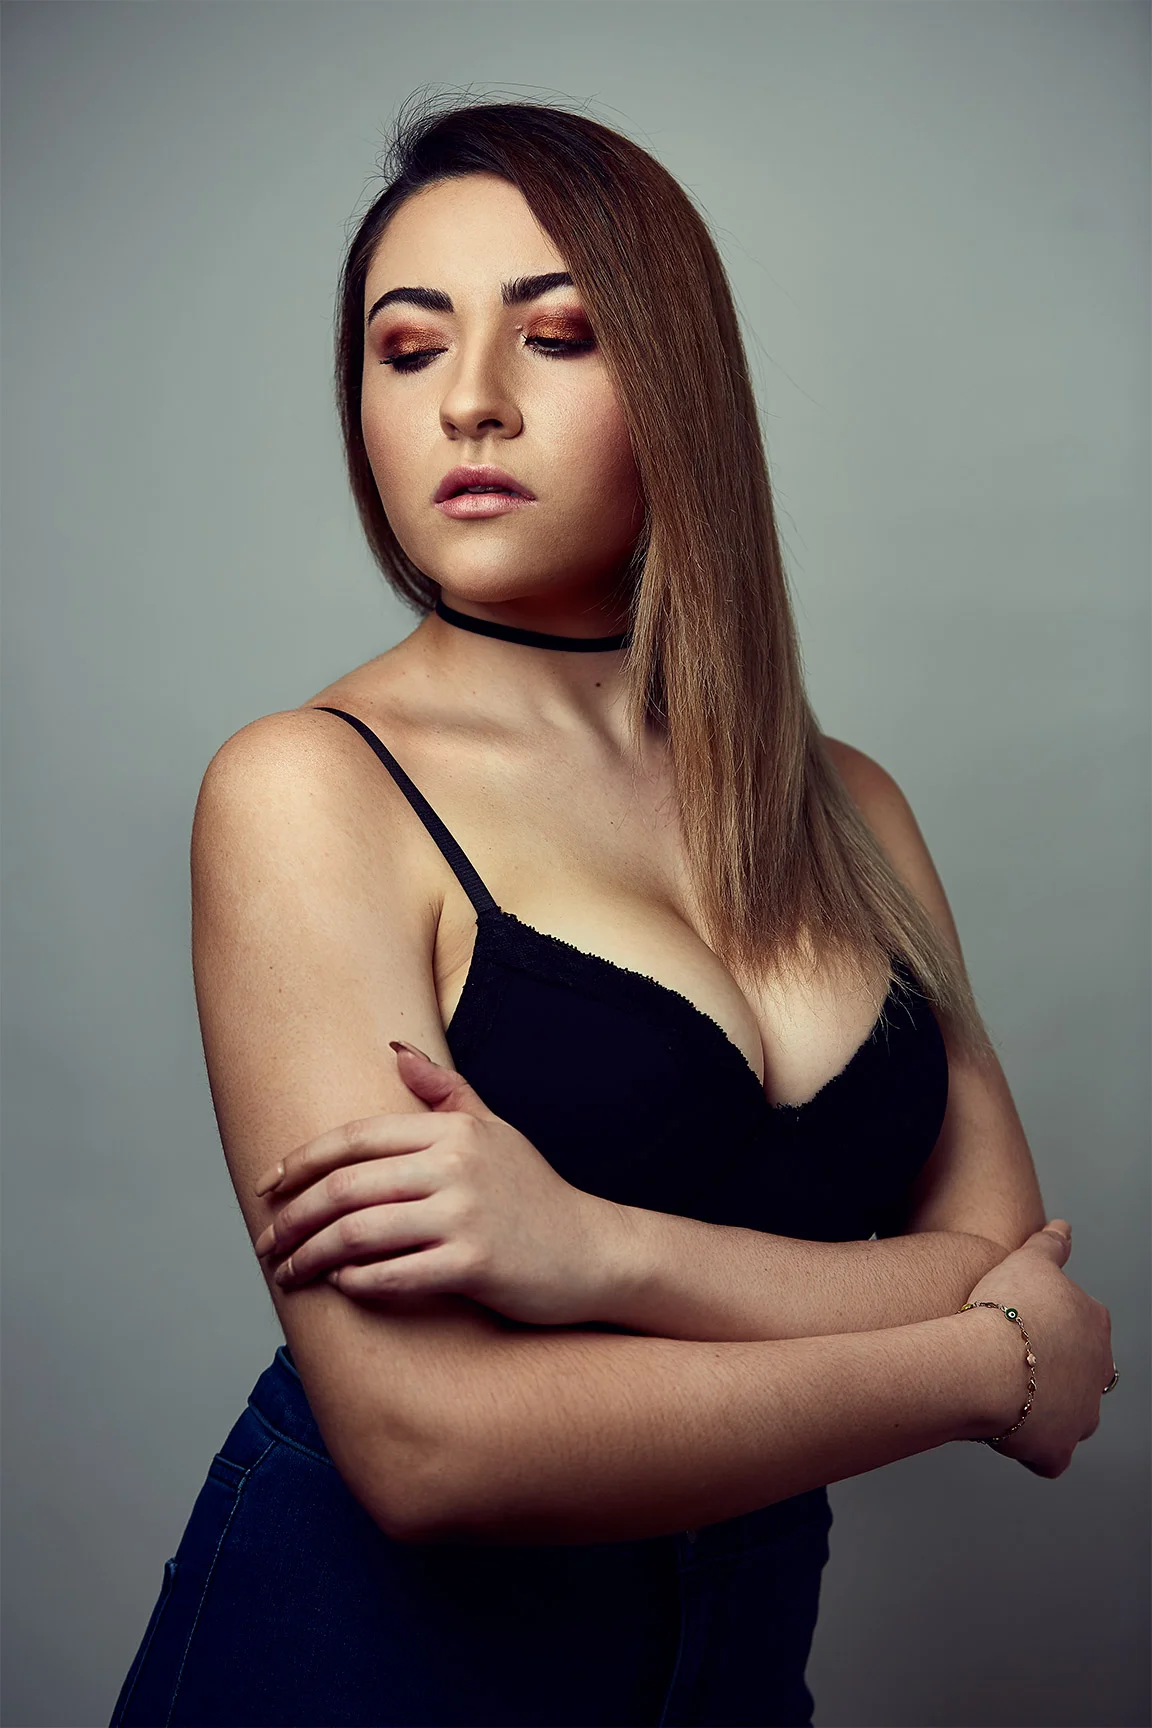
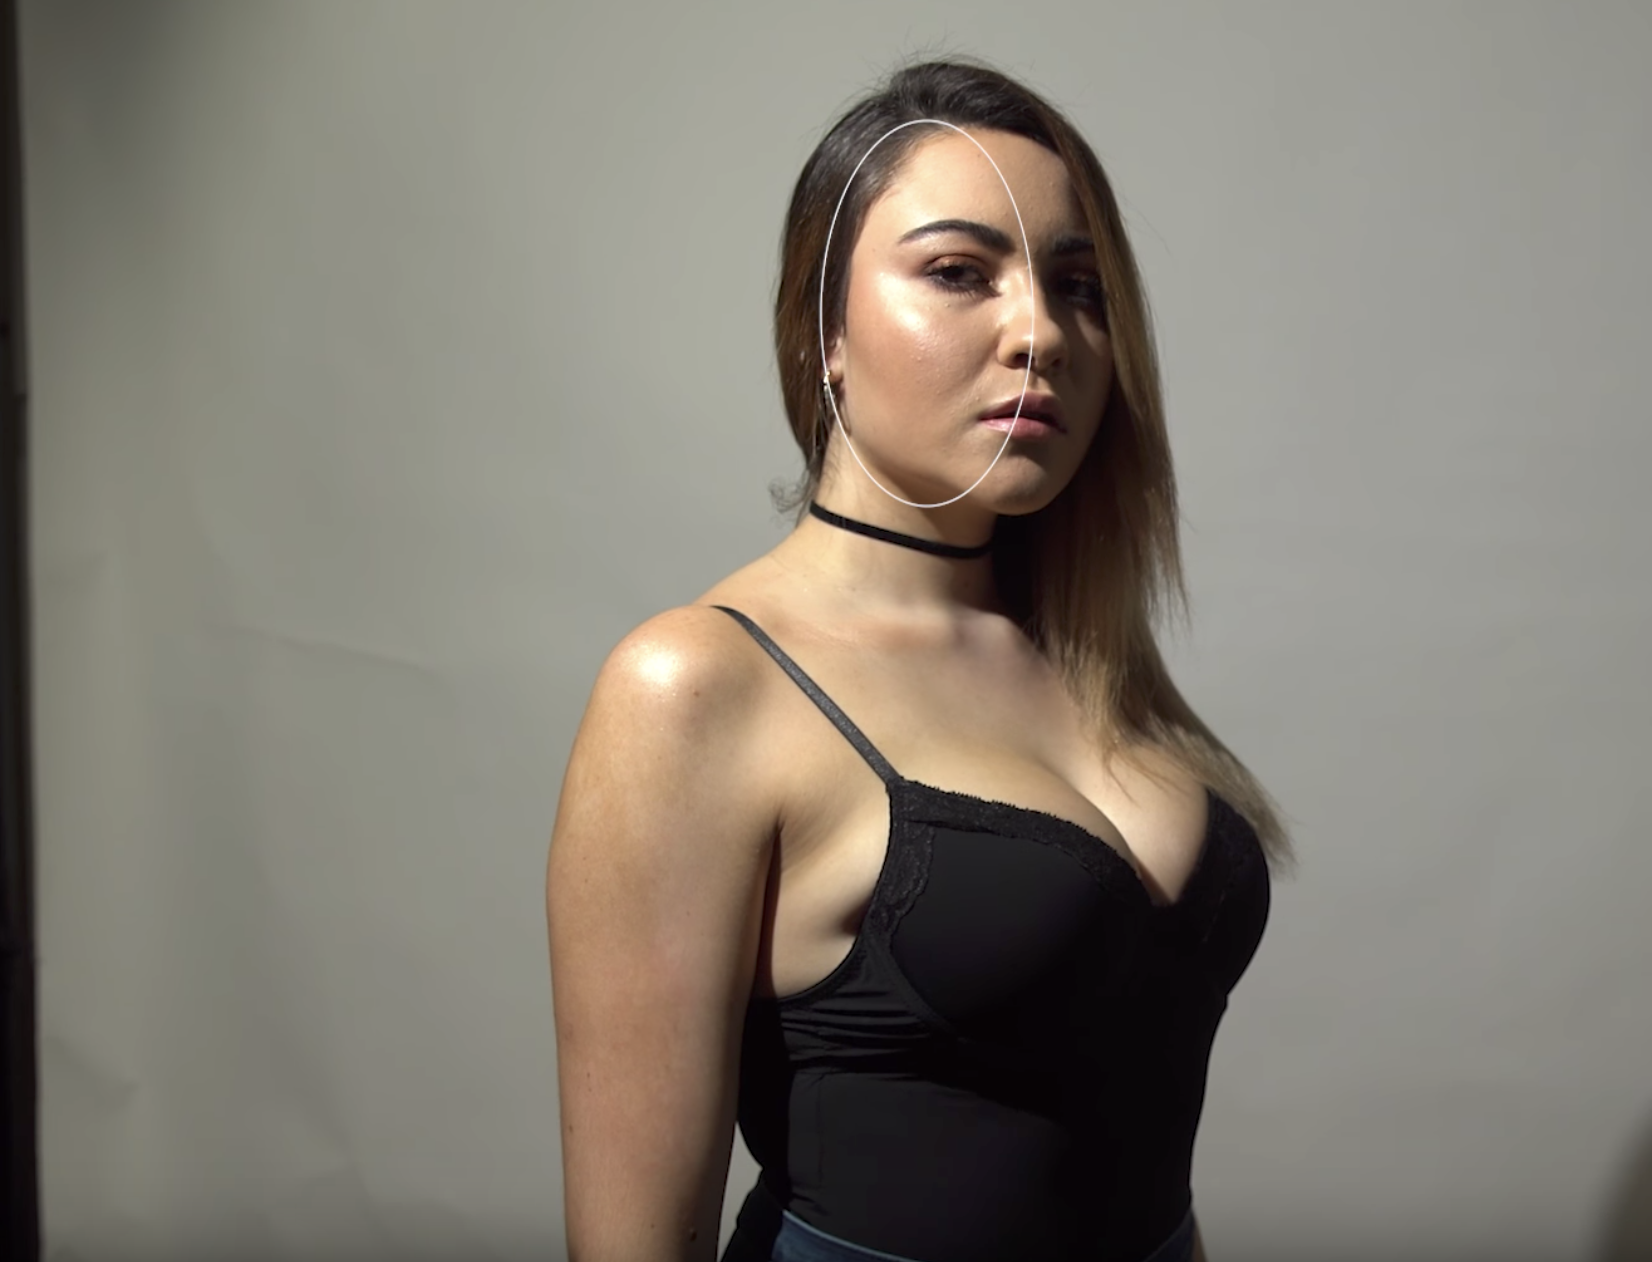
Short Lighting:
This lighting style creates shadows on the side of the face closest to the camera. Short lighting is another commonly used lighting style that I personally love to use. This style is opposite of broad lighting and in my opinion very close to loop lighting. To create short lighting, simply position the subject's face to the camera in the opposite direction of the main light. So for example, if the main light is coming in from camera left, ask the subject to turn their face to camera left, which would create a shadow towards the camera on the subject's face.

Short Lighting
Why should you be aware of the various lighting styles?
It's important as a portrait photographer that you recognize each lighting style. You don't have to love each one, heck you don't even have to remember the names, but you should be able to recognize the styles. When I first got into photography I had no idea that lighting styles existed. All I knew is that I wanted to create portraits and I knew the one light source which is the sun can help do that. Because I never knew about lighting styles it really took me a very long time to come into a style that I liked. I did a lot of trial and errors until I learned about lighting styles. I then started to experiment and realized that the lighting styles I have been gravitating to were mostly loop lighting, Rembrandt lighting, and short lighting. Once I understood this I was able to quickly determine what I need to do when a subject was in front of me.
In conclusion Lighting styles are nothing sexy, but there are fundamentally important. Do you need to follow the rules of each of these lightly styles? Absolutely not. You can break the rules and do your own thing, but in order to break the rules, you have to first know the rules. I hope this article was not your introduction to lighting styles but if it was. I highly encourage you to google and get more information as this article is only scratching the surface of what you should know.
Special thank you to Katherin Prada for being my amazing model for this photoshoot.
If you would like to attend one of my workshops, please join our meetup group and check for the next available workshop. If you don't see any upcoming workshops just contact me directly and we can put something on the calendar.
If you like what you see, please share with your friends and family. Also, please click the heart button and/or post some feedback below.
Sign up to our newsletter to get our latest news and promotions.