Natural Versus Artificial Light | Cary, North Carolina Photographer
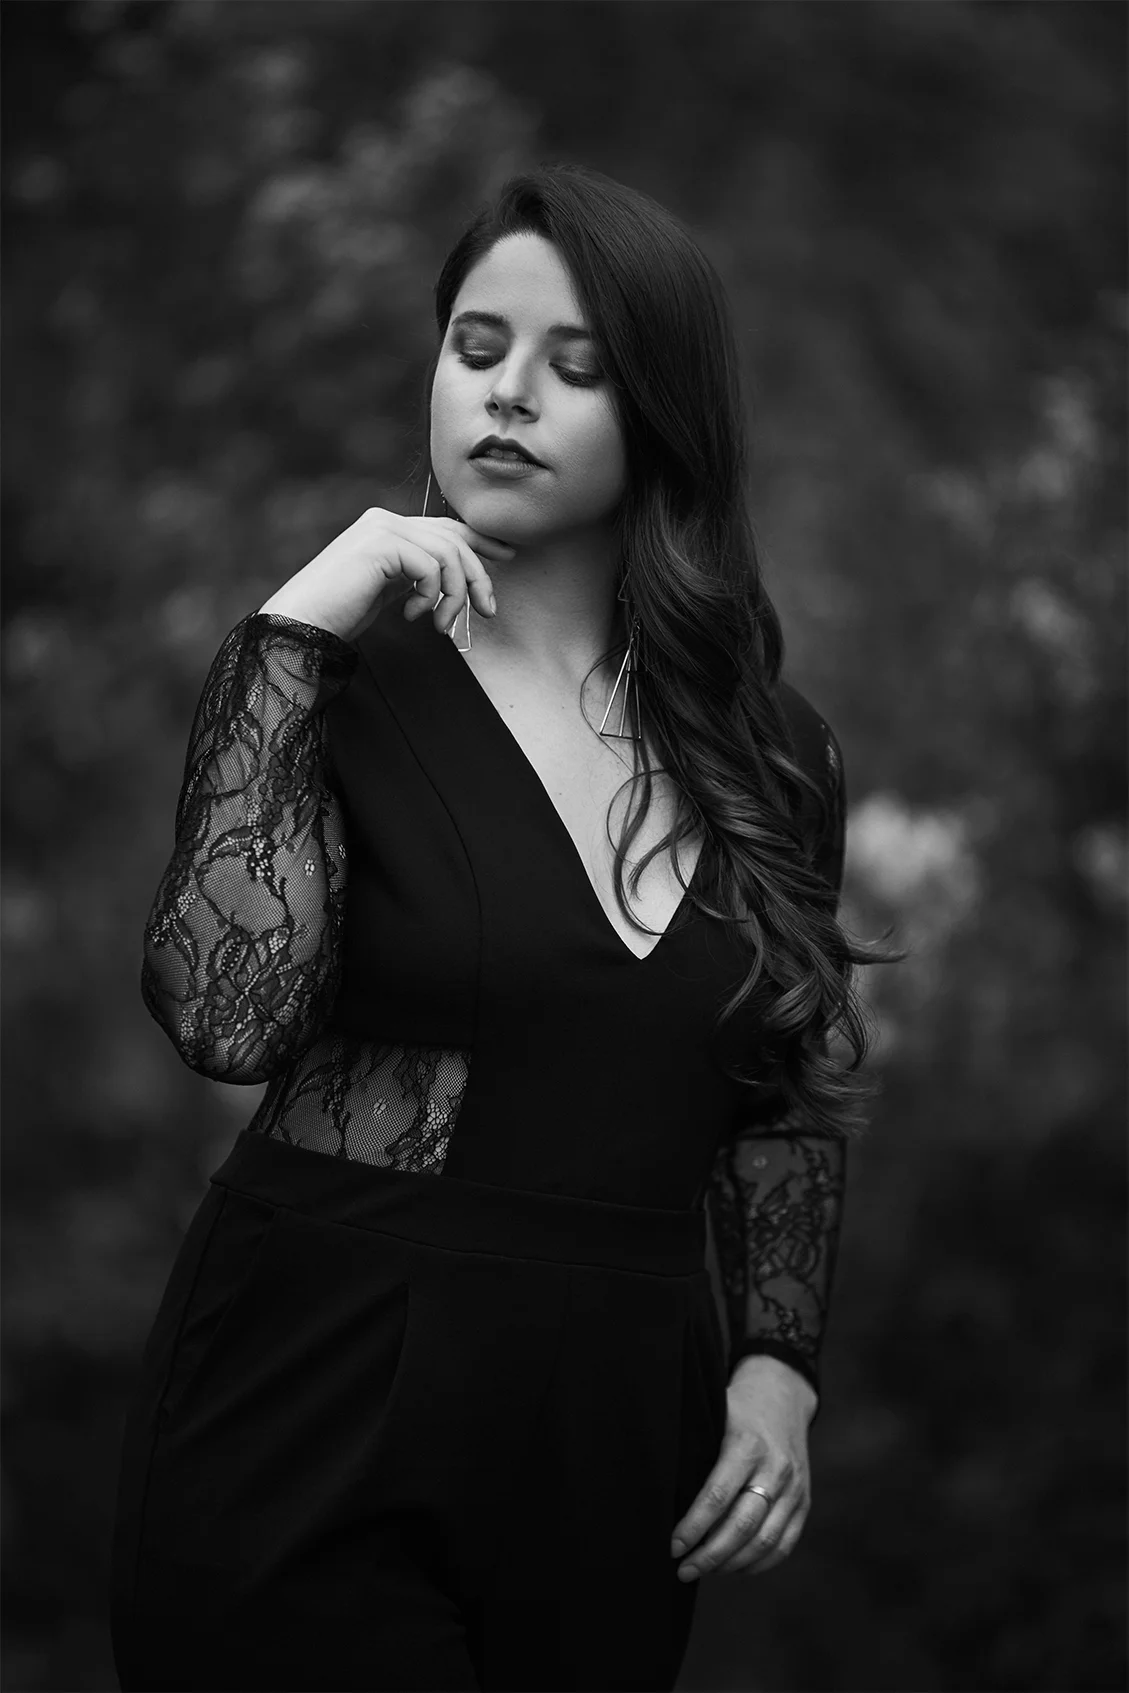
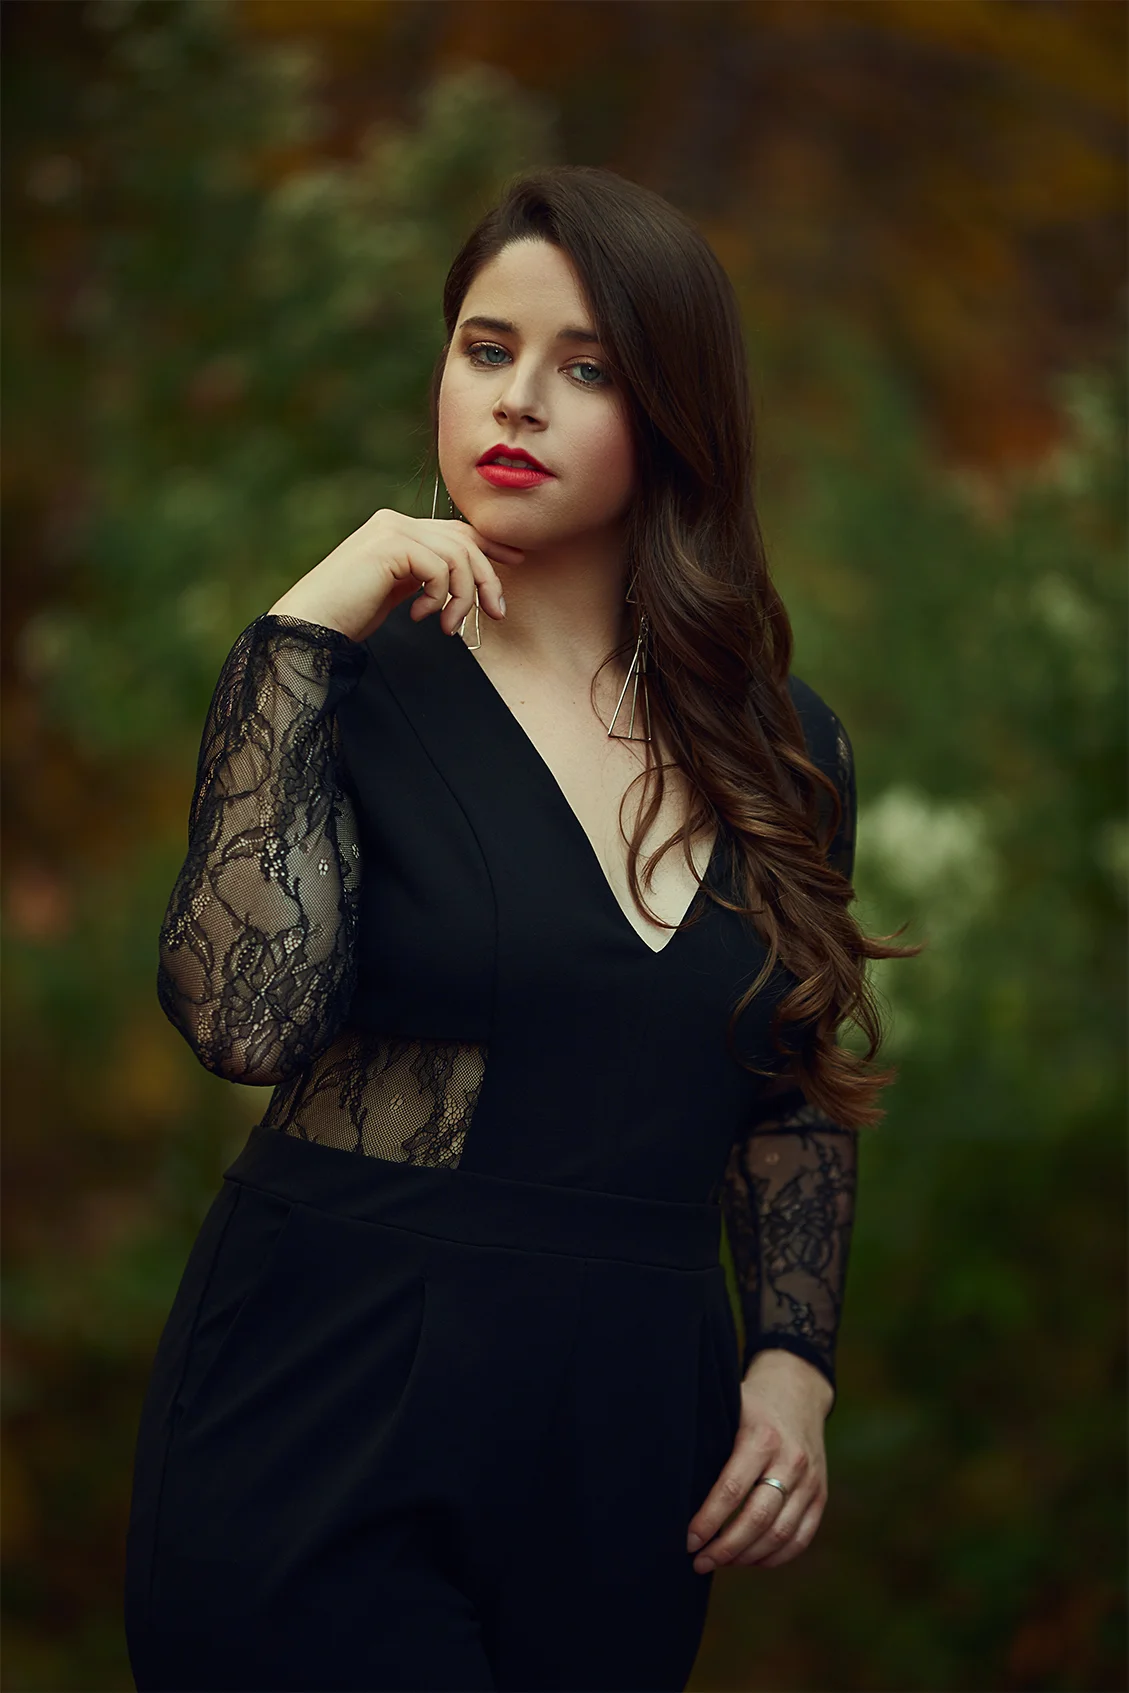
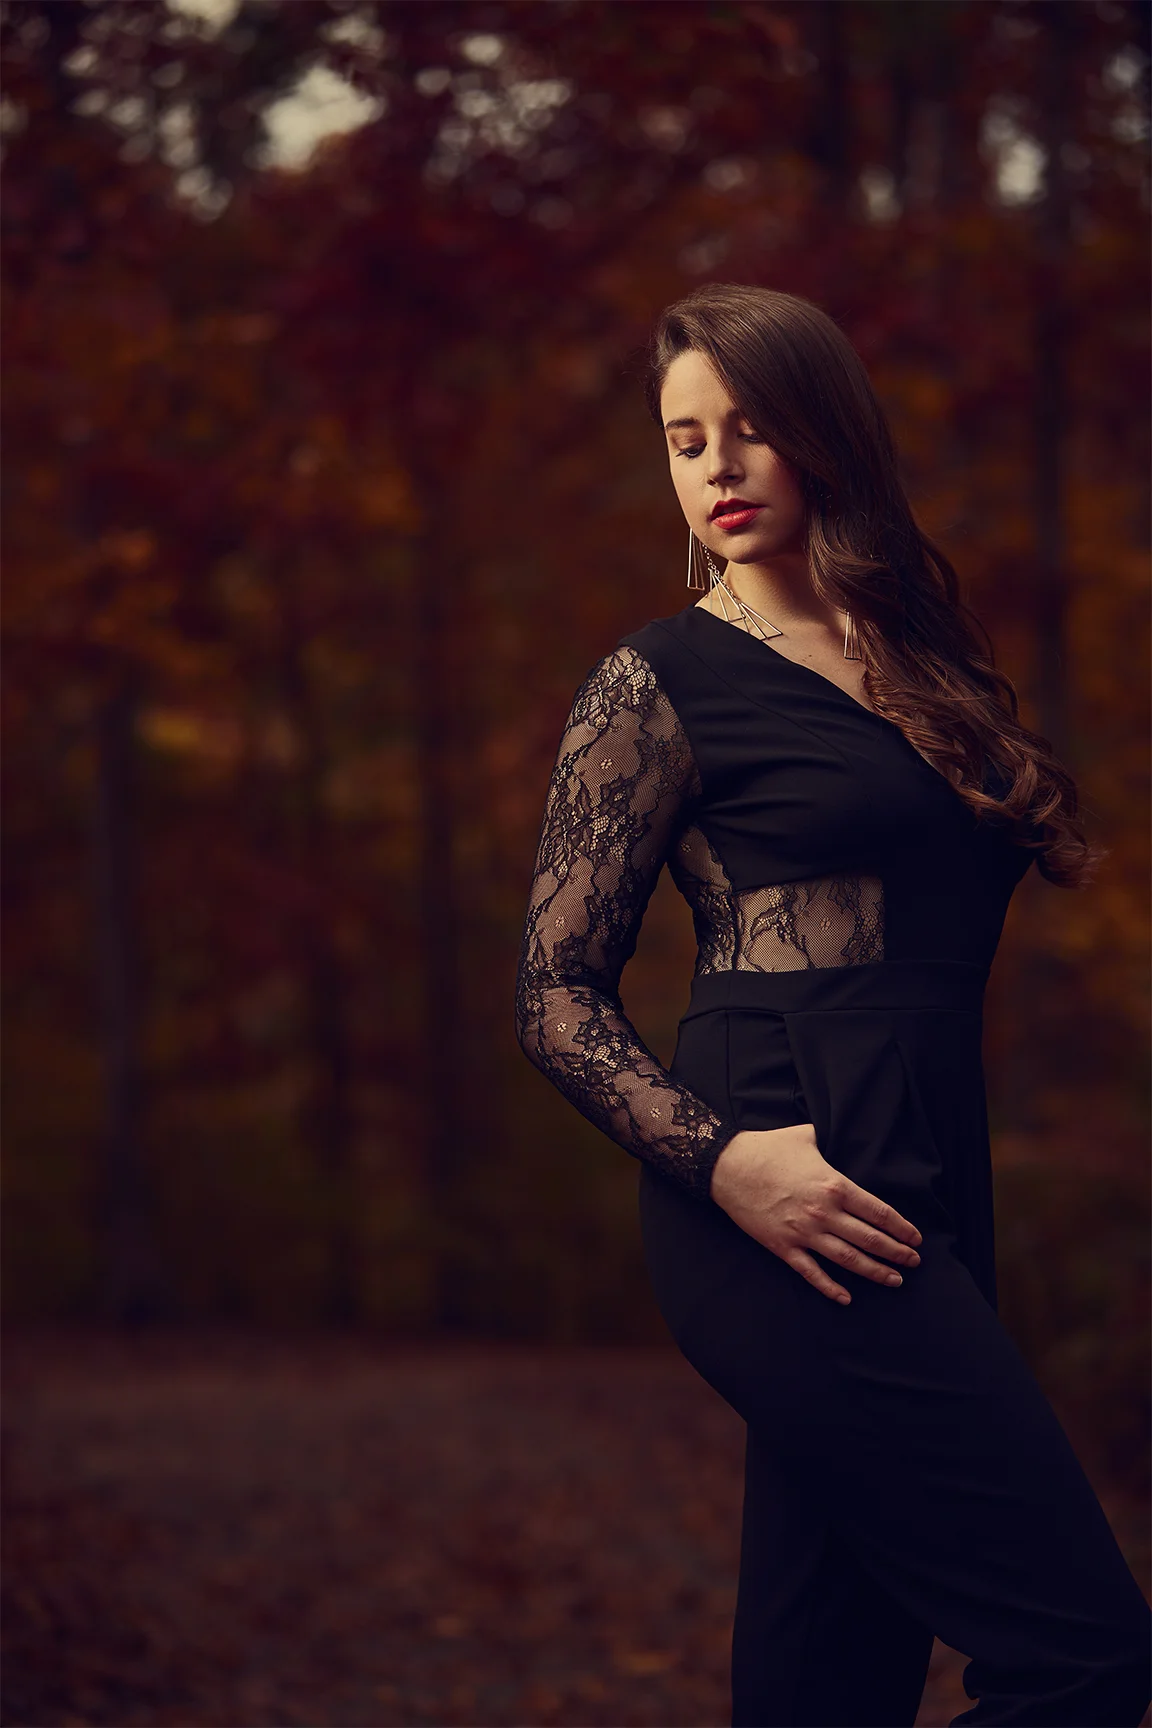
Natural versus Artificial light, which one is better? That was the question that prompted this photo session and the video tutorial which will be released in the near future. There are advantages and disadvantages to both light sources, but lets start with natural light.
Natural Light:
One of the main advantage to natural light is that it's always available and more importantly it's free. As a new or pro photographer, working with natural light is the most convenient because you can immediately see the impact the light is having on your subject which makes the process of creating a portrait very easy. If you are new to photography my recommendation is to work with and fully understand the lighting patterns of natural light before buying expensive artificial light.
The main disadvantages to using natural light is the fact that you cannot control the intensity of the light and you cannot control availability because you are limited to certain times of the day. That said, they are modifiers that you can use with natural light to help enhance the light quality and direction.
Artificial Light:
Artificial light, this is by far the most flexible light source, it completely addresses all the disadvantages of using natural light. With artificial light the photographer now has the ability to consistently create a high dynamic image, meaning they can now have two exposures in one image. With natural light the photographer can only have one exposure unless modifiers are introduced. Artificial light gives you the flexibility to create images at anytime of the day because you are not dependent on the sun. Consistency is one of the biggest advantages to artificial light over natural light because once you find a lighting setup you like it can be easily replicated at anytime of the day.
The biggest disadvantage with artificial light is the cost. Buying lights and modifiers gets very expensive, so if you want on demand sun be prepared to pay for it. Also if portability is a factor, carrying around lights, modifiers etc can become very inconvenient if you don't have an assistant and it slows you down. If you don't understand how light works jumping into artificial light would be a challenge, so I highly recommend learning to work with natural or constant light sources first and then graduating onto artificial light.
Conclusion:
In conclusion which light source do I prefer, well the answer is, it depends and here's why. I tend to gravitate towards using natural light initially because of the convenience. However, if the natural light on my subject is terrible and there's nothing I can do to fix it with posing or modifiers then that's where I would bring in artificial lights. I would also tend to use artificial light if I am trying to get two exposures. For example, if I wanted to get the clouds in the sky and at the same time get my subject properly exposed then I would introduce artificial lights to get a high dynamic image. I would also use artificial light while in doors to also get two exposures but more importantly I would use it to eliminate the horrible lighting which is typically found in doors for the most part, but not always.
In the video tutorial we go through examples of both natural and artificial light. I demonstrated how to manipulate natural light and how to use artificial light, so do check out the video when it's released for more information.
Team:
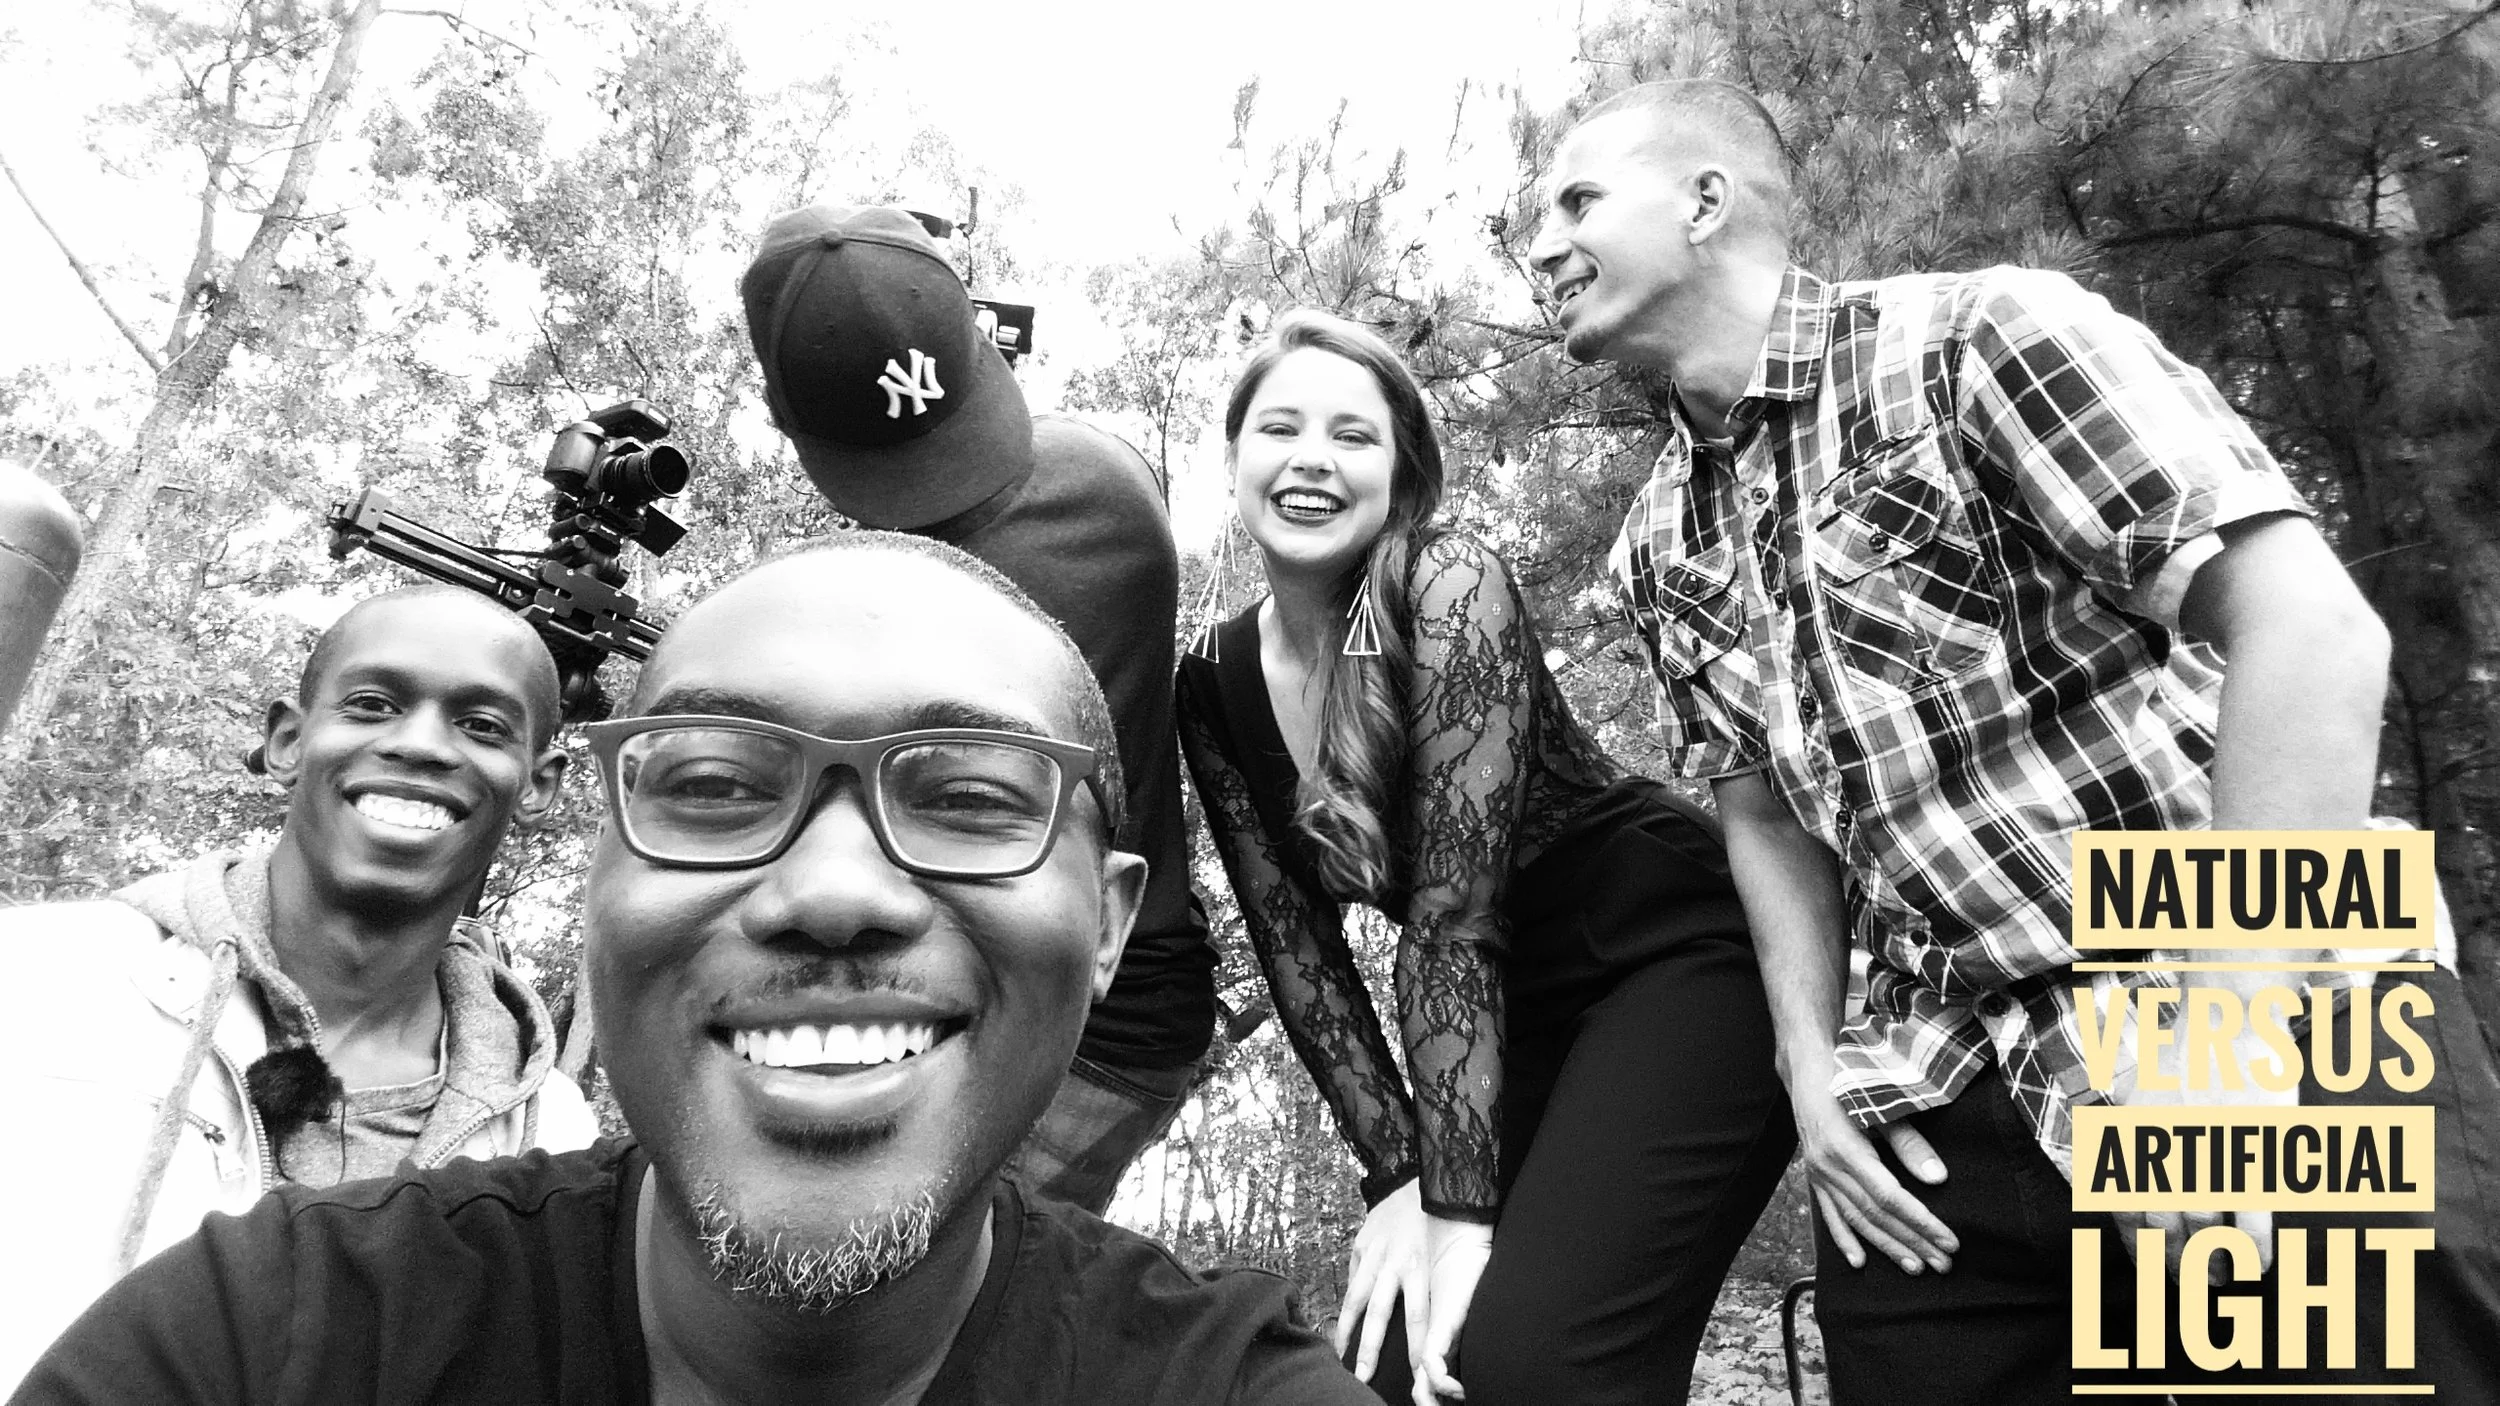
I want to give a big thank you to all that were involved in putting this video tutorial together.
- Ashley Denton the most down to earth model who always step up to the plate to assist us with workshops and these video tutorials.
- James Thomas or should I say Dr. James Thomas, yes, he is an actual doctor. Thank you for allowing me to use your Profoto B1 lights for this demonstration.
- Wayne Wonder, my business partner captured all the amazing video for this tutorial and will be bringing it to you all in the near future, so stay tuned for that.
- An assistant is very important to me as they help make the photo session run very smoothly and Mike was awesome on the day of the photo session.
- Lastly, for this video tutorial I reached out to Chenee Jones the night before the photo session and I ask her if she can work her magic with respect to the makeup and I am very thankful that she said yes because we all had a blast.
General Information:
If you would like to attend one of my workshops, please join our meetup group and check for the next available workshop. If you don't see any upcoming workshops just contact me directly and we put something on the calendar.
If you like what you see, please share with your friends and family. Also, please click the heart button and/or post some feedback below.
Sign up to our newsletter to get our latest news and promotions.


