How To Use Color Gels | North Carolina Photographer
I am going explain what I have learned thus far in using color gels and hopefully my journey as of right now during my learning process can help you. Second we will jump into the details of the photoshoot.
I have been using color gels in my work on and off over the years and during that time I managed to achieve some success with it and lot of failures. The failures were very frustrating because I didn't understand the problem and therefore couldn't resolve it. In this video I will highlight those problems and the solutions I have found.
Gels love shadows. When using gels if you don't isolate the gel to the shadow area of your image you may as well just don't use gels because you will fail as I did. Which brings me to light contamination. If your gel light and the none gel light cross then the none gel light will win. What this means is white light will always wash out the color gel so it's critical that both are isolated in order to see the results of the gel.
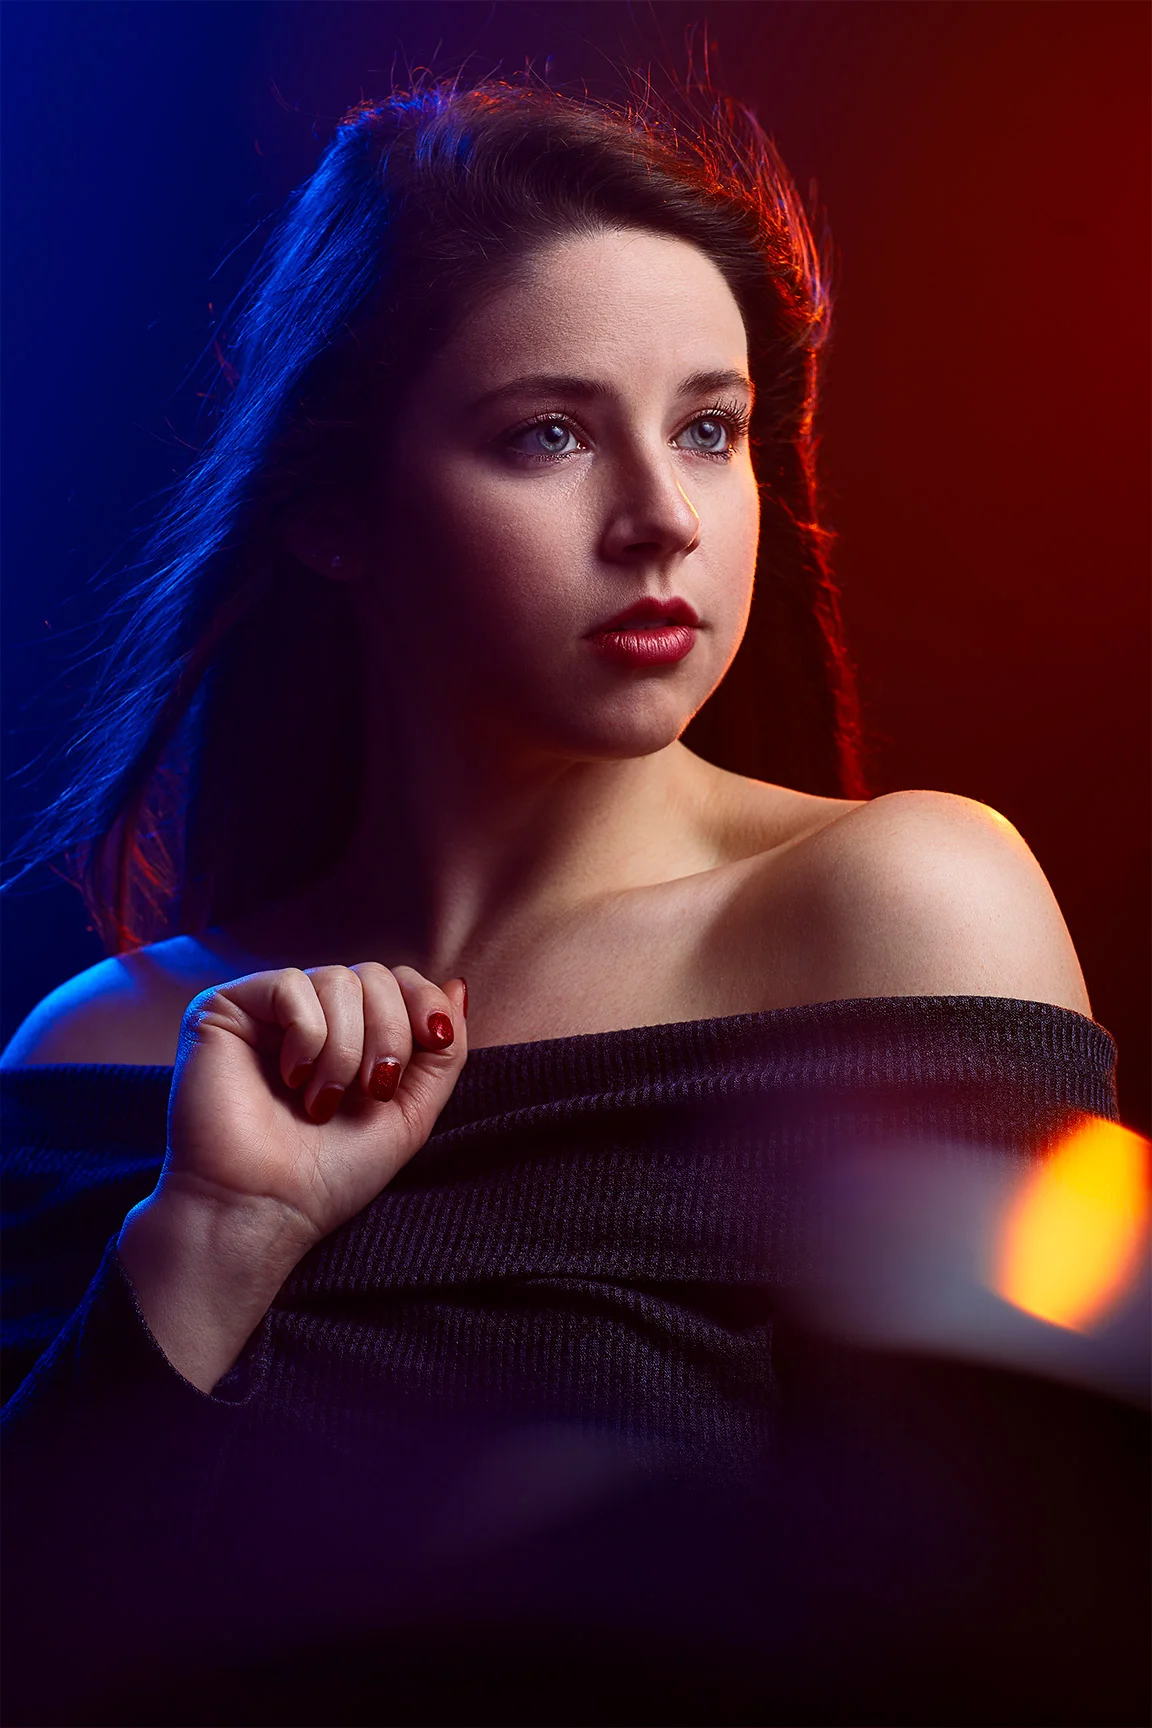
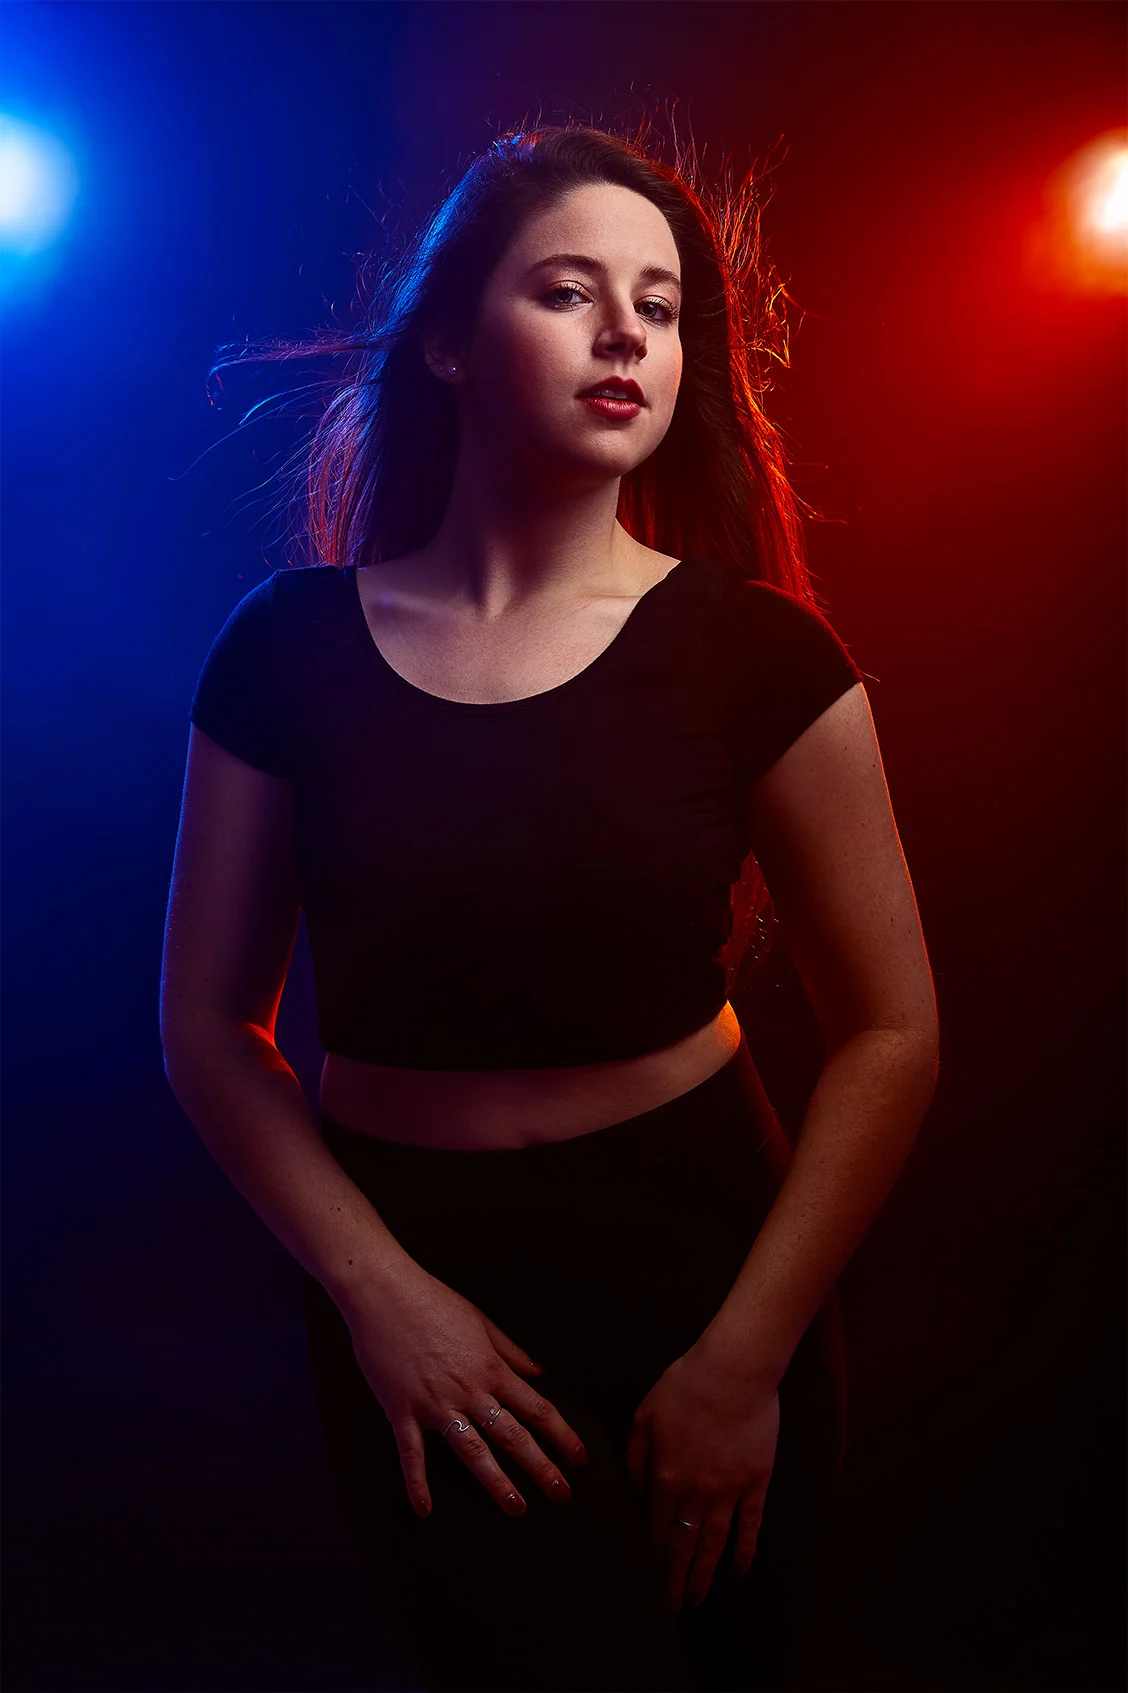
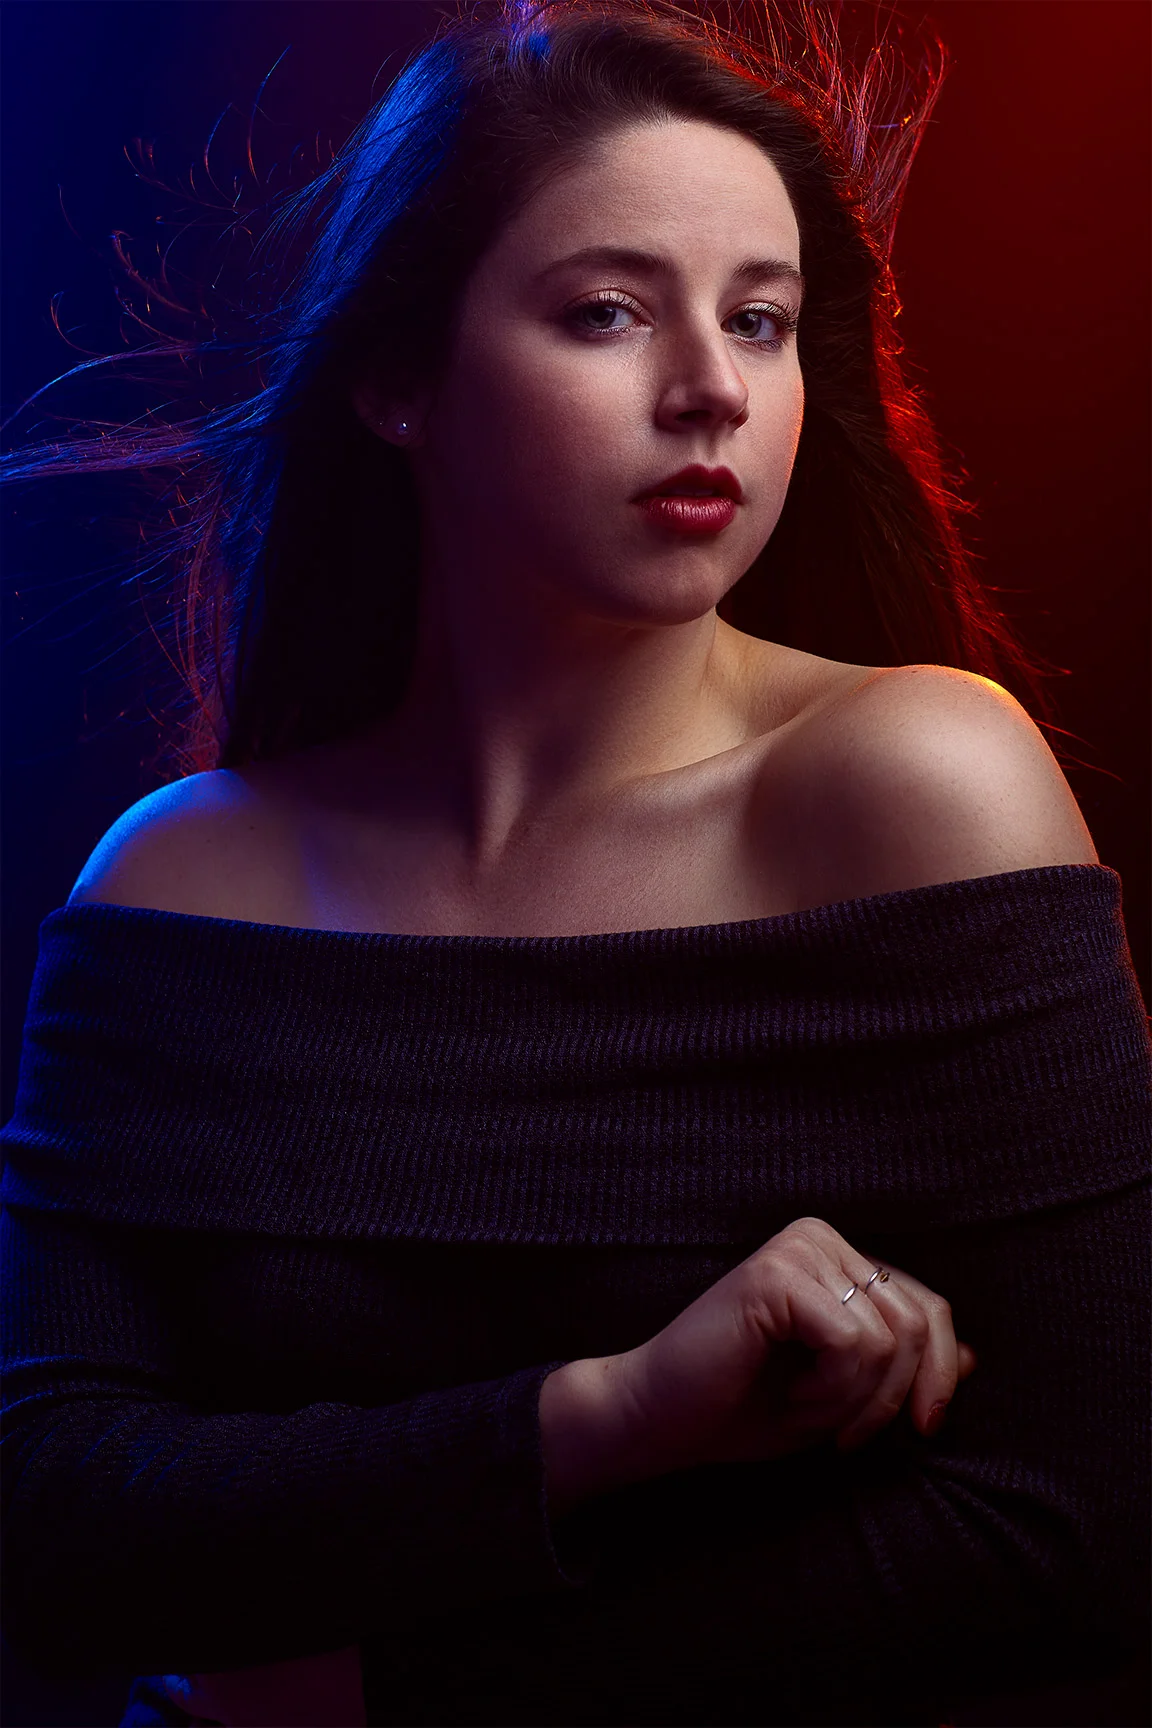
How is this applicable to an actual person? As I stated before gels love shadows which means if you want to use gels on a person you will need to ensure the gelled light is lighting the shadow area of the subject. The white light needs to only be exposed on the area of the subject where the gel light is not focused on. In the photoshoot you will see later in the image below and the BTS video you will notice I failed on my last setup because I didn't realize the strobe had some white light being mixed in with my gel which render the gelled light useless.
When working with gels it is critical you understand complementary colors. When I started using gels I just used any random colors because I thought it was cool to me. No thought was put into what colors actually complemented each other. Therefore the resulting image was a mess and it really had no harmony because the colors were competing with each other which simply became a distraction. What has helped in the pass and to this today is using a color wheel to assist me which provided me with what the complementary colors should be so I don't have to guess. It also can provide the triad colors, meaning if you wanted to have 3 complementary colors it will show you that as well. The color wheel I use currently is on the Adobe website which you can find here. This is a tremendous resource and I hope Adobe never takes it down.
One other item that impacts gels is light intensity. Typically when you put anything in front of your light you will loose some power. With gels you tend to loose perhaps 1 or 1/2 stop depending on how dark the gel is. So what you will have to do is increase the power of your light to compensate which makes sense. However, what you need to be aware of is if you increase the power too much you can tend to loose the color saturation with your gels and it could also create an unwanted hotspot in the center. Yellow gels are very light so the amount of light that you will loose when using this type of gel is very little therefore you would only need to increase your lights 1/2 a power or less. With deeper colors such a dark blue you will may need to increase your lights 1 power or more depending on the look you are going for. So keep in mind, gels impact the power of the light and the light intensity impact the color saturation.
So let's talk about the gear used for this photoshoot.
One Godox ad600 two Godox ad200.
One silver umbrella with the ad200.
One softbox with the ad600 which was not gelled for the first setup.
One Reflector dish with a grid and the ad200
One fan.
5 in 1 reflector to act as the flag.
One sandbag.
One Fog machine.
My studio space is extremely small so light Control with or without gel is always a struggle for me. That said, working with gels you need an extra level of control because you don't want to have light contamination. Ideally the best way I could have done this photoshoot was griding both reflector plates on the Godox ad200 which were behind the subject but I didn't have two grids. So I use a grid on one of the two Godox AD200 light and I used an umbrella on the other. However I still needed to control the light from the umbrella so it didn't bounce on the subject's face from the wall, so I used my 5 in 1 reflector to block the light. Both the Godox ad200 were gelled one with blue and the other orange. The main light was the Godox ad600 and that light wasn't gelled. It also only had the inside baffle because I wanted to produce a bit of a harsh light. Ideally a beauty dish would have been great for the main light but I didn't have one with a Bowens mount. Every light had there specific zones on the subject that they were targeted to ensure they were no light contamination.
Special thank you to Ashley Brooke Denton for being my amazing model for this photoshoot.
If you would like to attend one of my workshops, please join our meetup group and check for the next available workshop. If you don't see any upcoming workshops just contact me directly and we can put something on the calendar.
If you like what you see, please share with your friends and family. Also, please click the heart button and/or post some feedback below.
Sign up to our newsletter to get our latest news and promotions.


